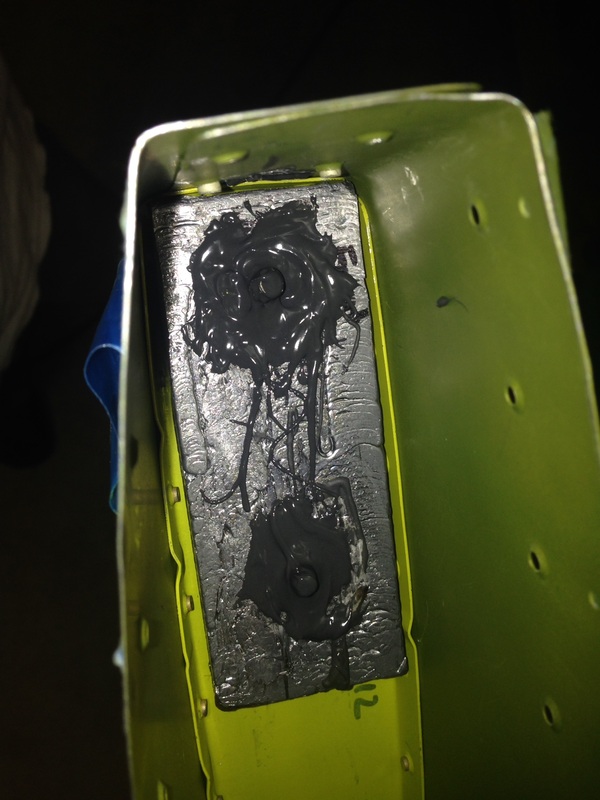
After some asking around, the consensus was to heat up the JB Weld to chip it off. I broke out my heat gun and did just that. The whole thing ended up being a total non event, just a few more hours added to build log.
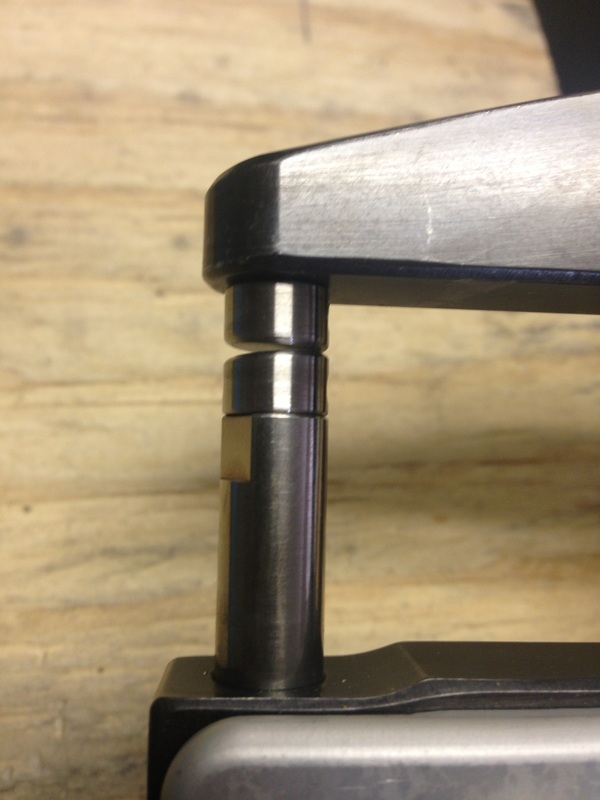
Now it was time to button the top up by adding the last rib. I was a little worried because the skin at the top was very bunched up in areas and didn't lay flat. Once the rib was installed it fit like a glove.

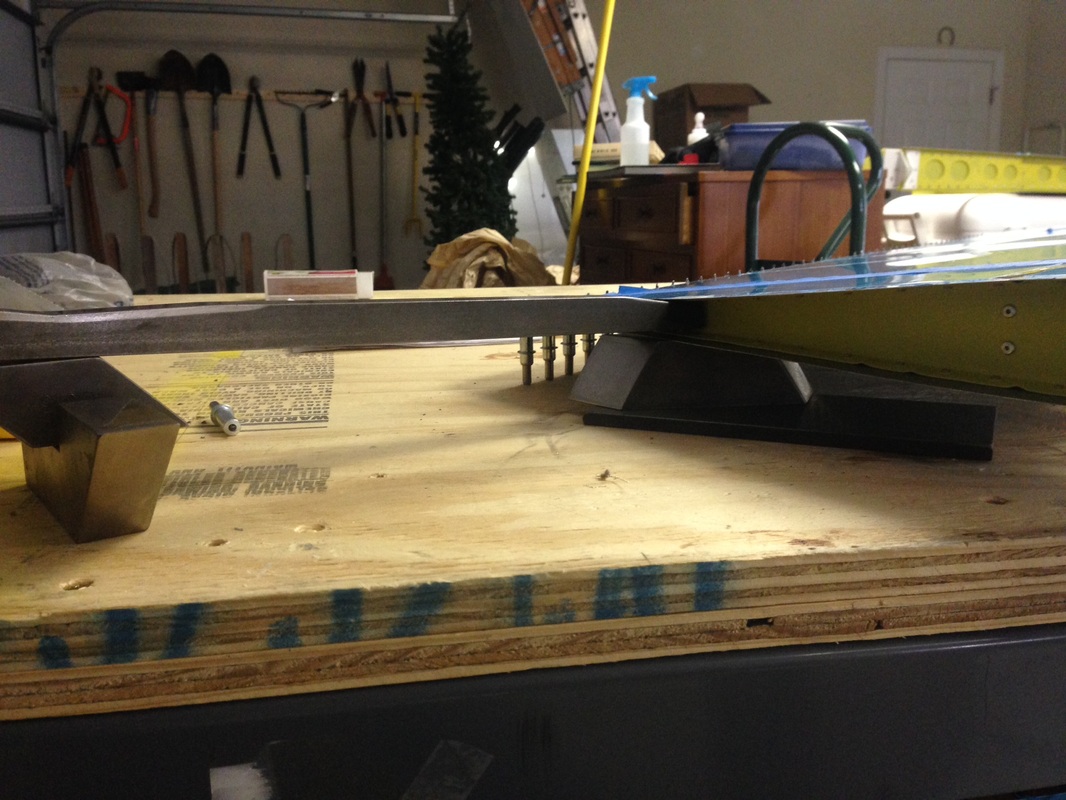
Driving the aft most rivet on the rib took a little thinking. I quickly remembered doing this on the practice project. However this far into the build of "real parts" brought the pucker factor up. I switched to my 3x gun and turned the air up and hit in very, very, short bursts, re-positioning the bucking bar rig before every trigger squeeze.
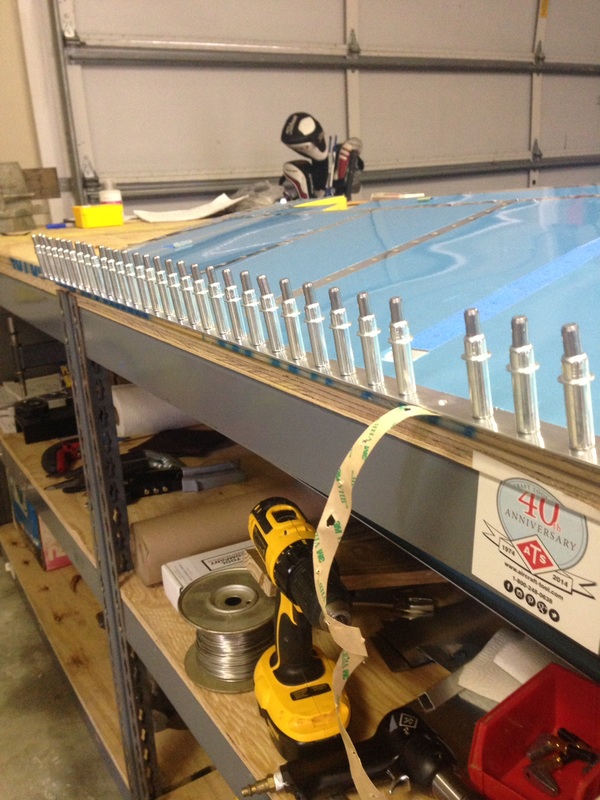
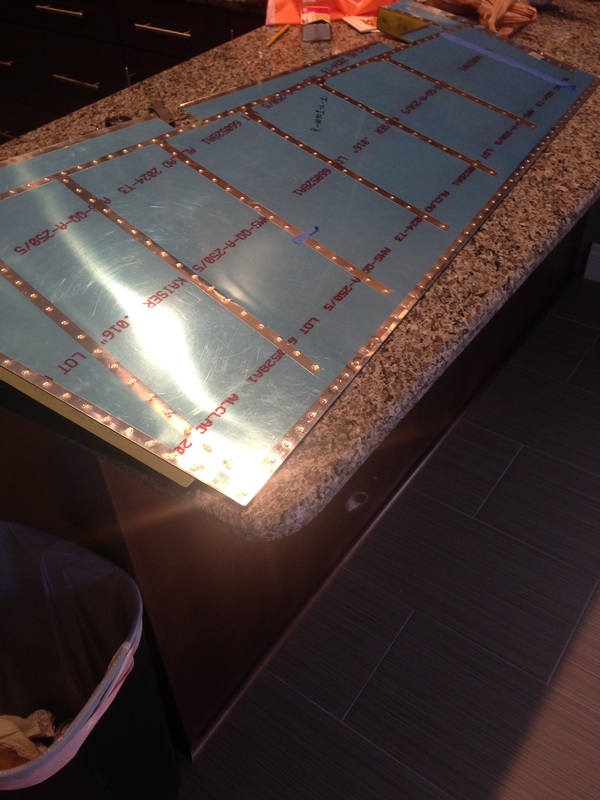
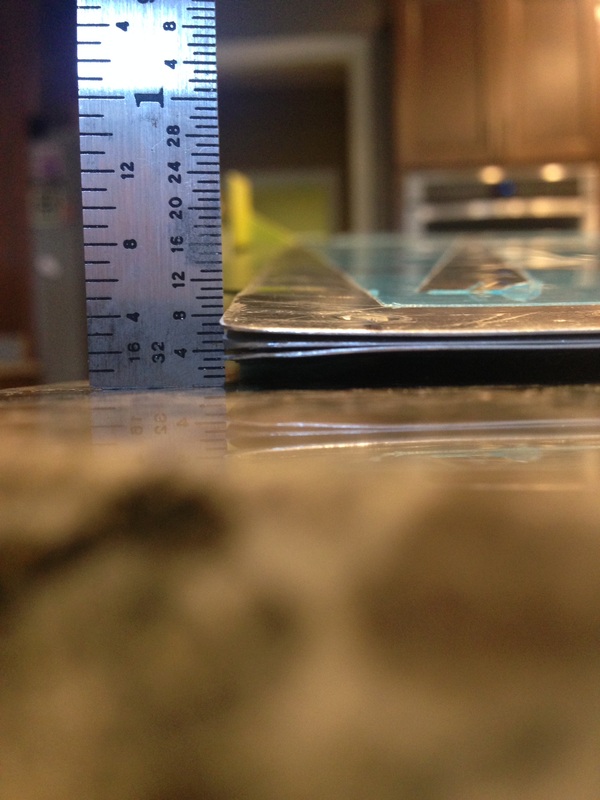
Now it was time for the dreaded trailing edge...I decided to follow the plans and use the 3M tape instead of the pro seal, jb weld, 5200, etc... As it turns out, Van's suggested the 3M tape for a reason: It was simple, AND it works! The bond along the trailing edge is tight except for the ends that come apart a little (I have a few ideas to fix that). I did however deviate from the plans and did not back rivet the trailing edge. I read a few different build sites and decided to start by barely setting the rivets (every 10th as per plans) just until the shop heads got close to the skin. Next I switched out to the modified dies from Avery and squeezed slowly until just flush. On a few of the rivets I stopped slightly proud of flush because I could see the skin would be distorted if I went any further. This process worked well and the finishing results were 1/4" twist when the difference of both sides were measured. I'm satisfied.

 RSS Feed
