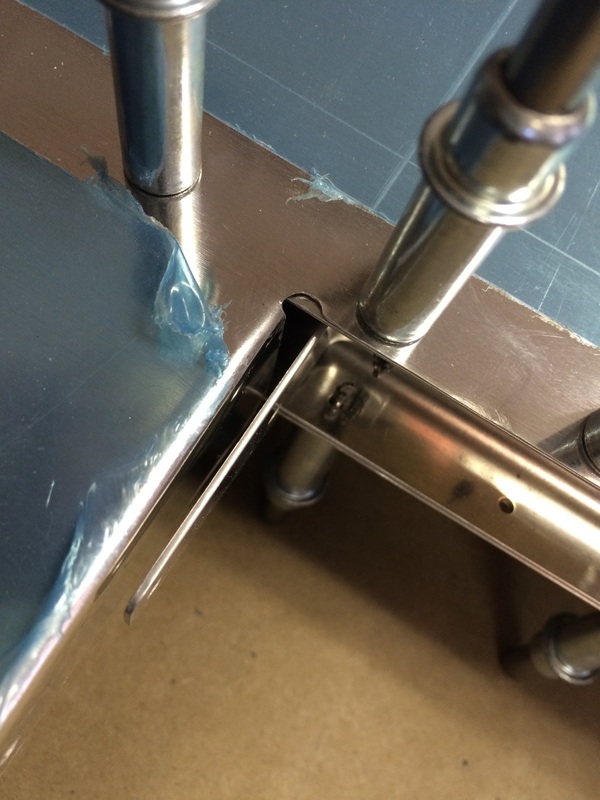
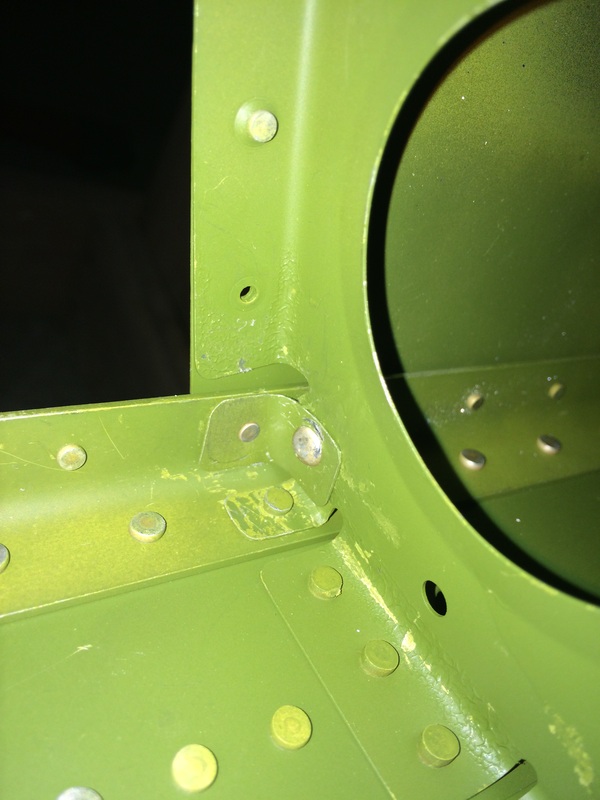
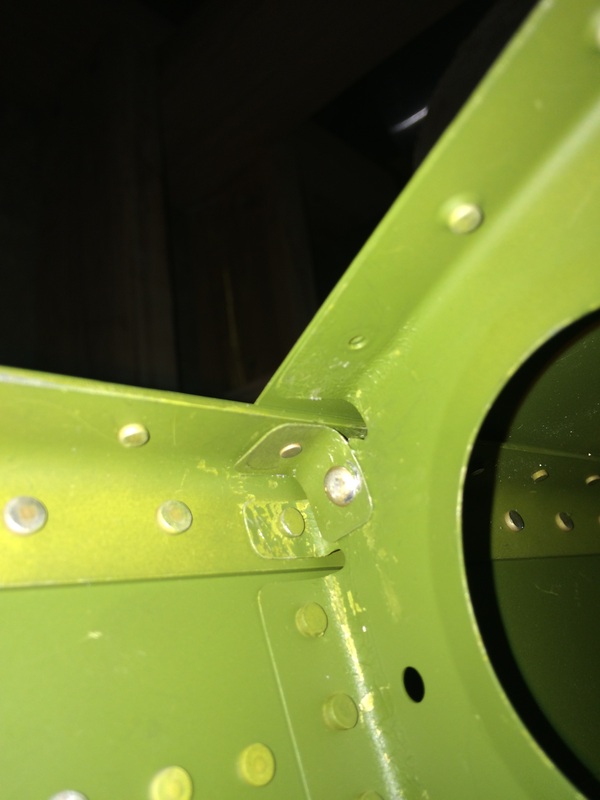
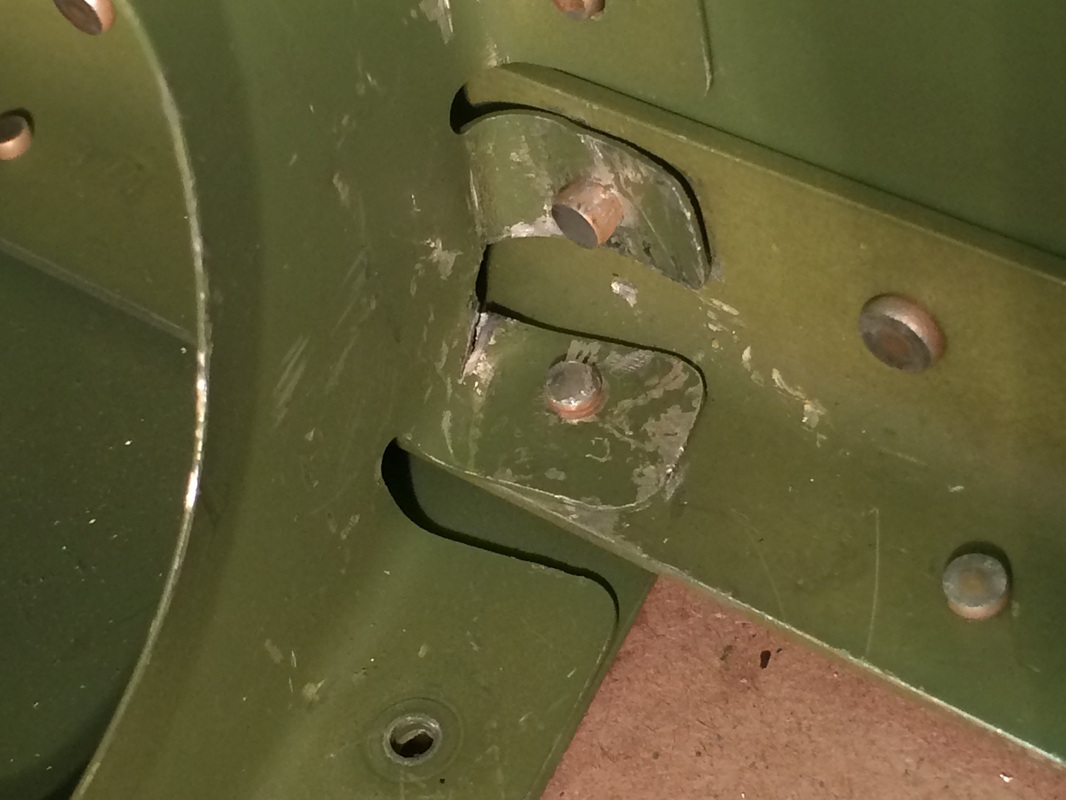
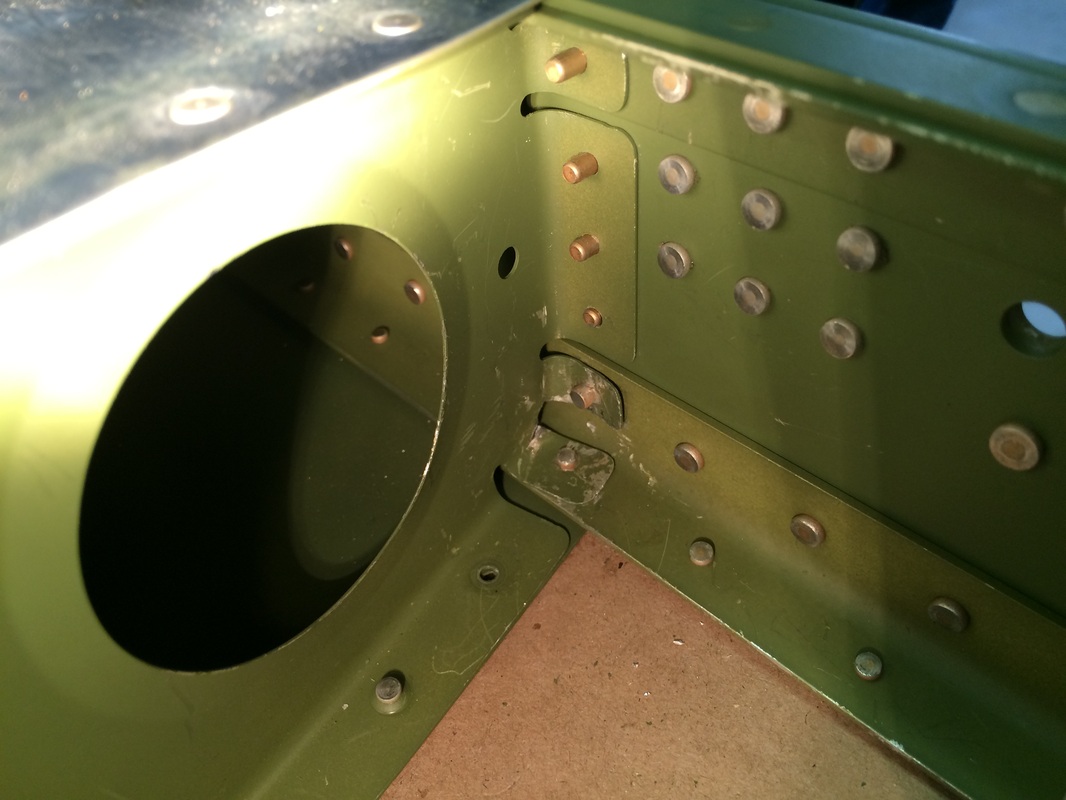
Earlier in section 9 the plans had you bend the close out tabs on both the top and bottom skins. Although dimensions were provided in the plans I must have mis-marked my measurement on the actual skins. I didn't find this out until I clecoed the shear clip in place that is supposed to rivet to the close out tabs and the spar.
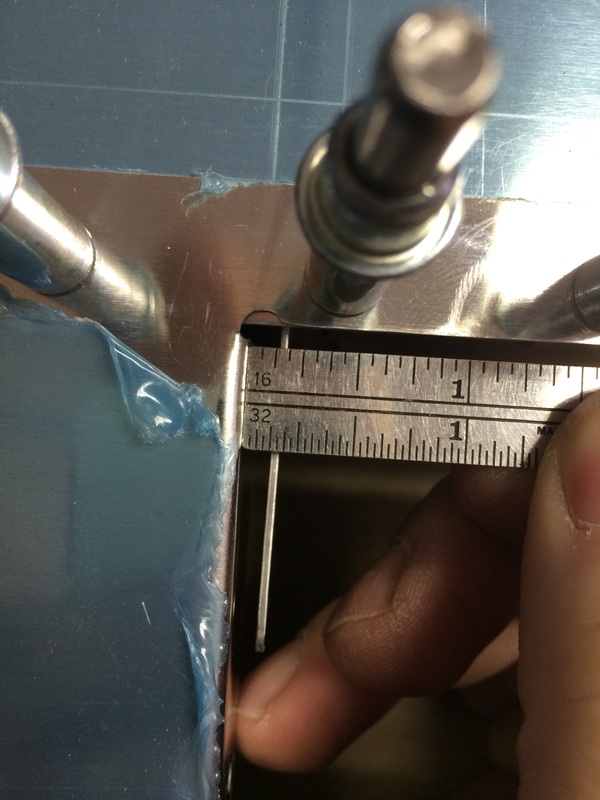
This snafu had me calling Van's on Monday morning to see what the alternatives were. My proposal was to fabricate another shear clip that would reach the close out tab. Van's agreed that would work but would end up leaving a 1/4" gap (rather than 1/8") between the closeout tab and the trim tab. The extra space in the gap would be purely cosmetic and create no performance issues. I'm ok with that since I'm not building a show plane.
This snafu had me calling Van's on Monday morning to see what the alternatives were. My proposal was to fabricate another shear clip that would reach the close out tab. Van's agreed that would work but would end up leaving a 1/4" gap (rather than 1/8") between the closeout tab and the trim tab. The extra space in the gap would be purely cosmetic and create no performance issues. I'm ok with that since I'm not building a show plane.

 RSS Feed
