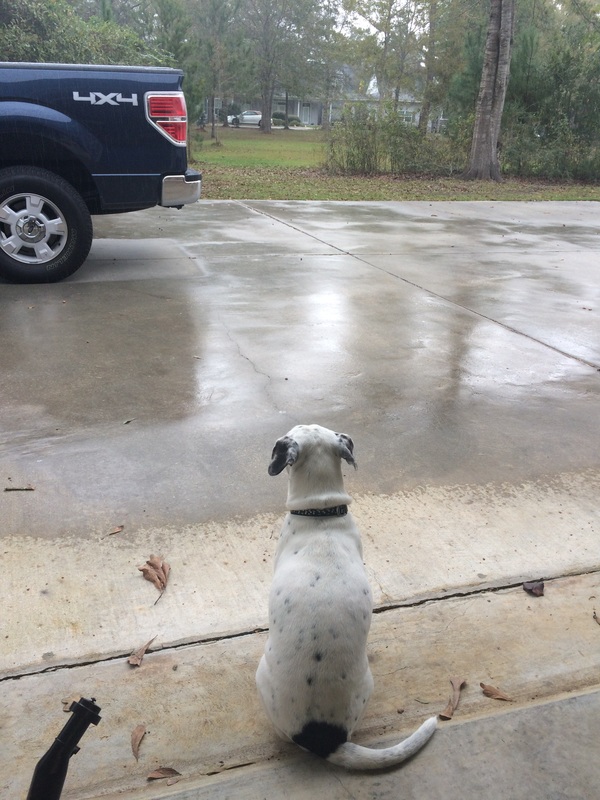
What better to do on a hot muggy, rainy, November day? Why work on an airplane of course. Louie was not impressed with the rain and kept a safe distance from the wet stuff.
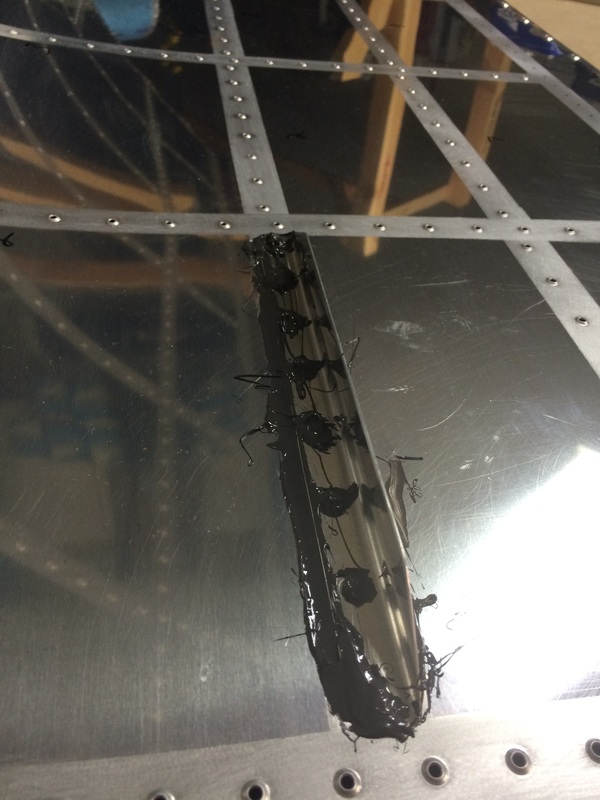
All I really managed to accomplish today was build up some frustration while I worked on the fuel floats. However, there were two valuable lessons learned:
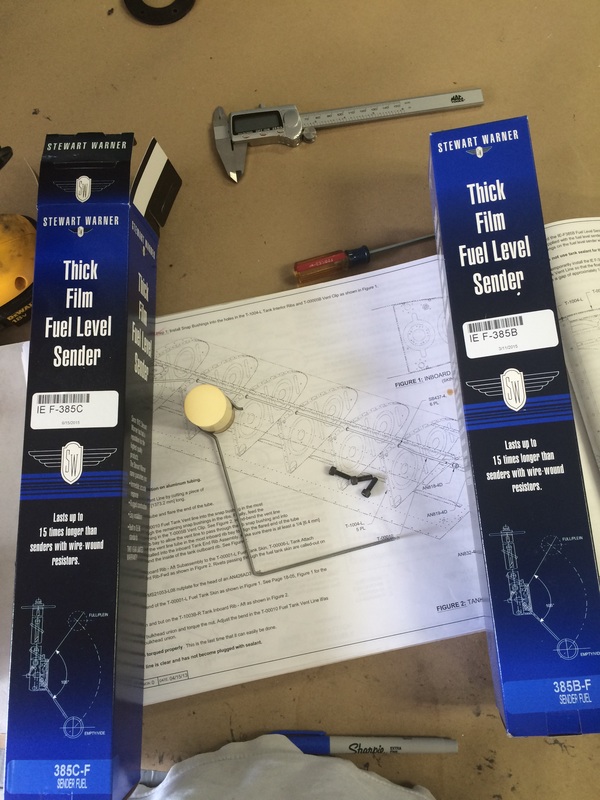
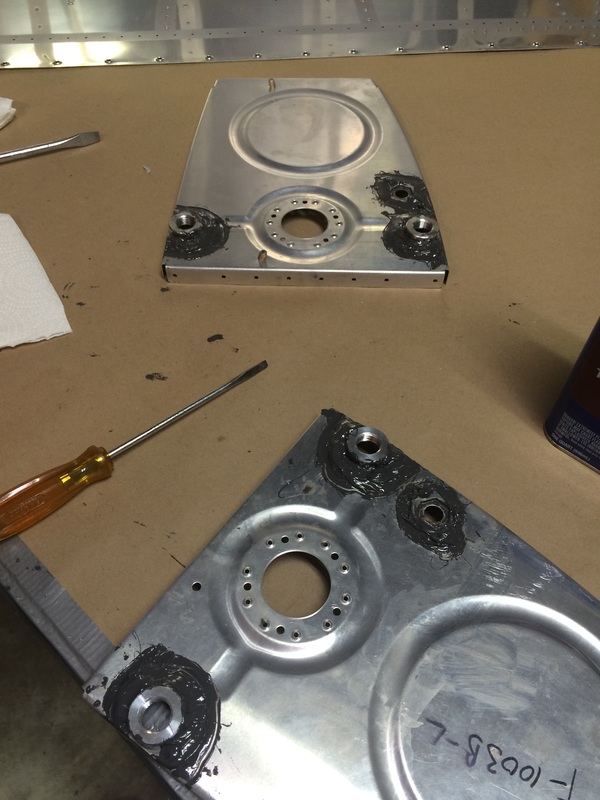
1) As the pictures shows, there are two different fuel float part numbers (L & R). I apparently glossed over the plans and failed to notice two different part numbers on the box. I finally realized something was wrong when I just couldn't get the holes on the sending unit and the inboard baffle to line up.
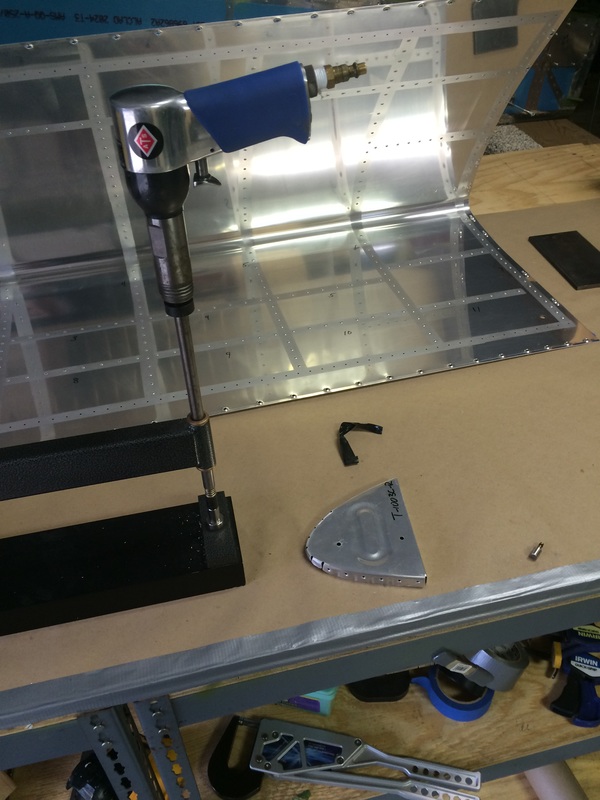
2) If after bending the float wire the float just isn't quite right and touches either top or bottom of the skin, cutting it shorter does not work. These wires are pretty stiff, and once they are bent at a 90 degree angle it is difficult to unbend or straighten them. So Van's got another $5 from me and sent me a new wire. In the meantime I used the wire for the other sending unit (which I managed to not screw up).
1) As the pictures shows, there are two different fuel float part numbers (L & R). I apparently glossed over the plans and failed to notice two different part numbers on the box. I finally realized something was wrong when I just couldn't get the holes on the sending unit and the inboard baffle to line up.
2) If after bending the float wire the float just isn't quite right and touches either top or bottom of the skin, cutting it shorter does not work. These wires are pretty stiff, and once they are bent at a 90 degree angle it is difficult to unbend or straighten them. So Van's got another $5 from me and sent me a new wire. In the meantime I used the wire for the other sending unit (which I managed to not screw up).
 RSS Feed
