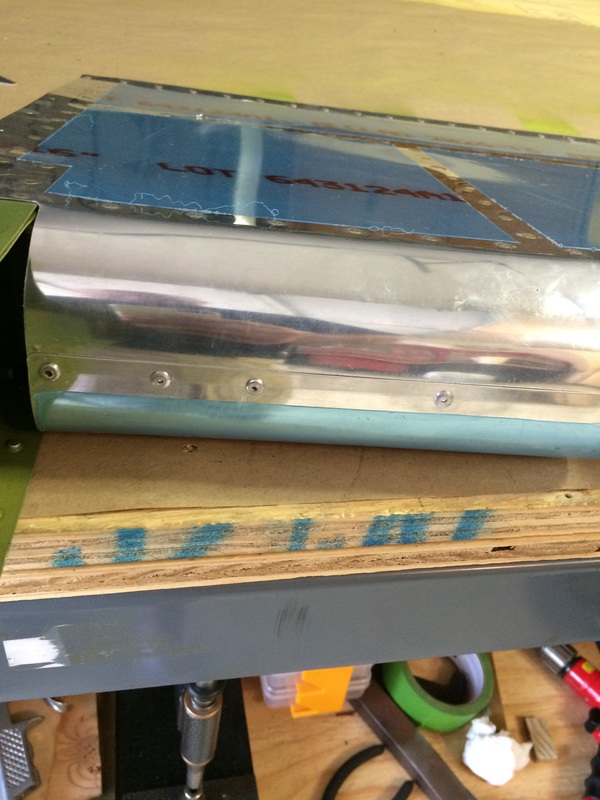
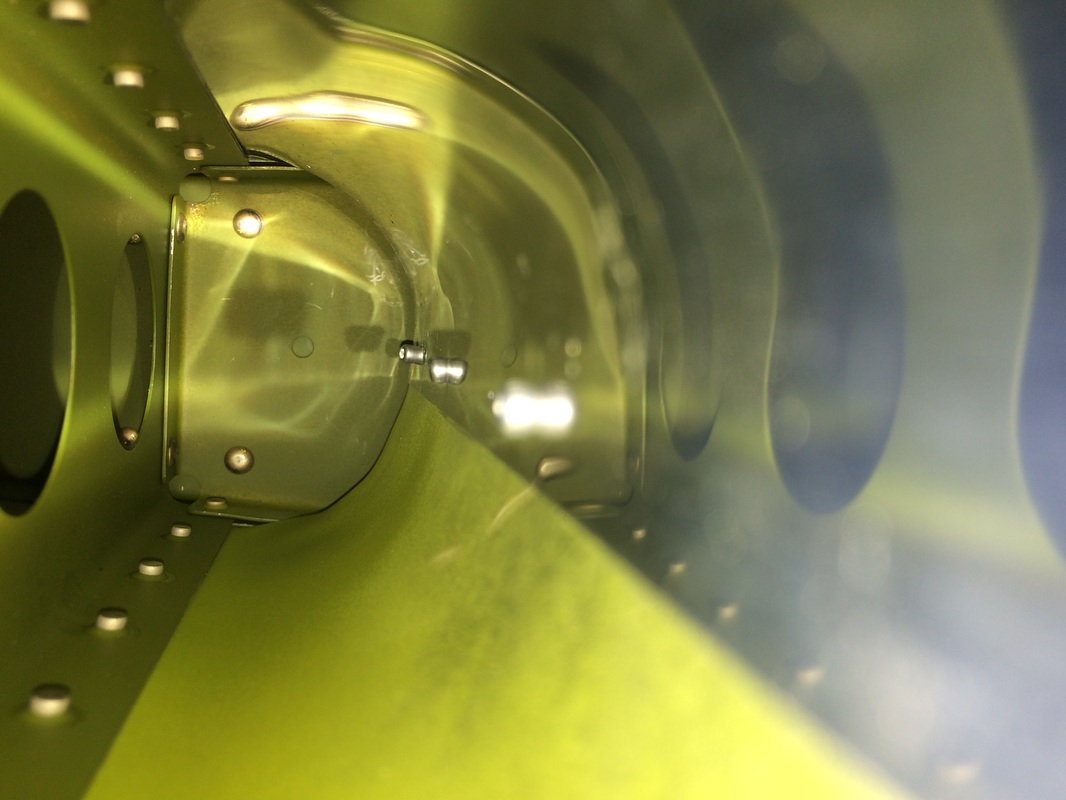
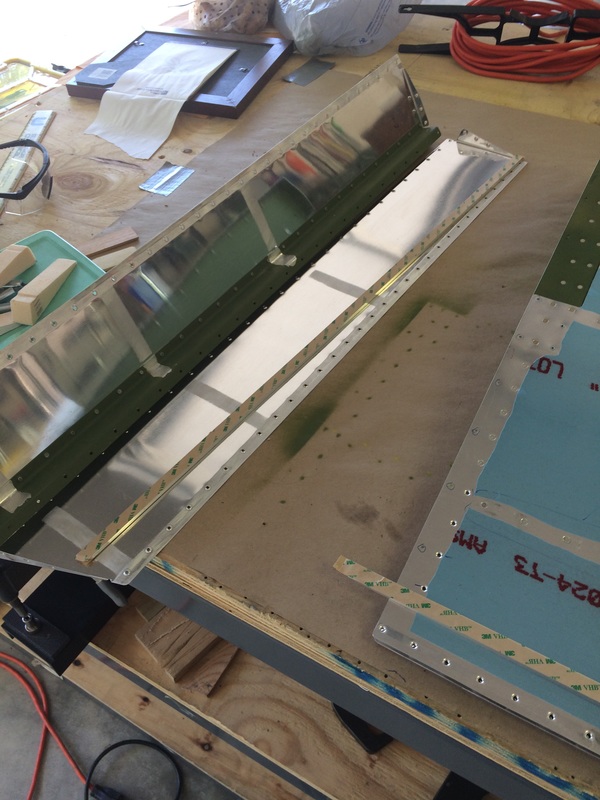
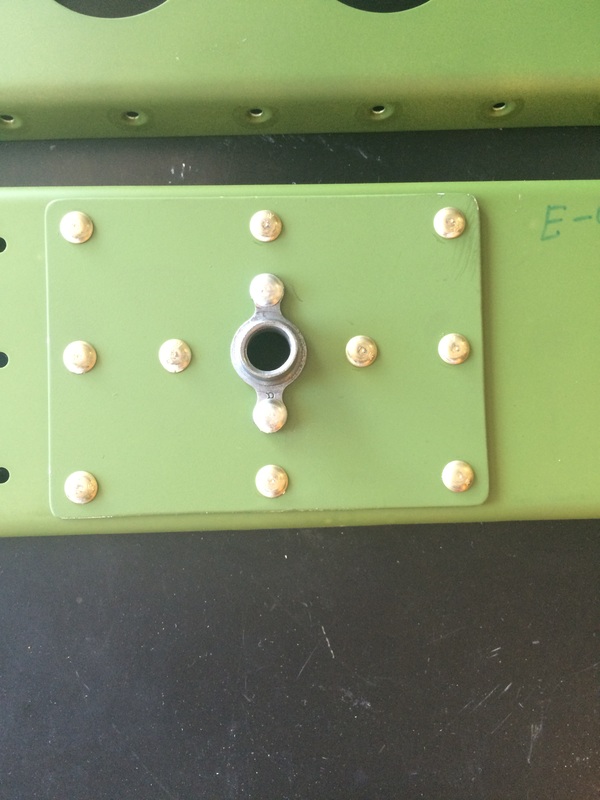
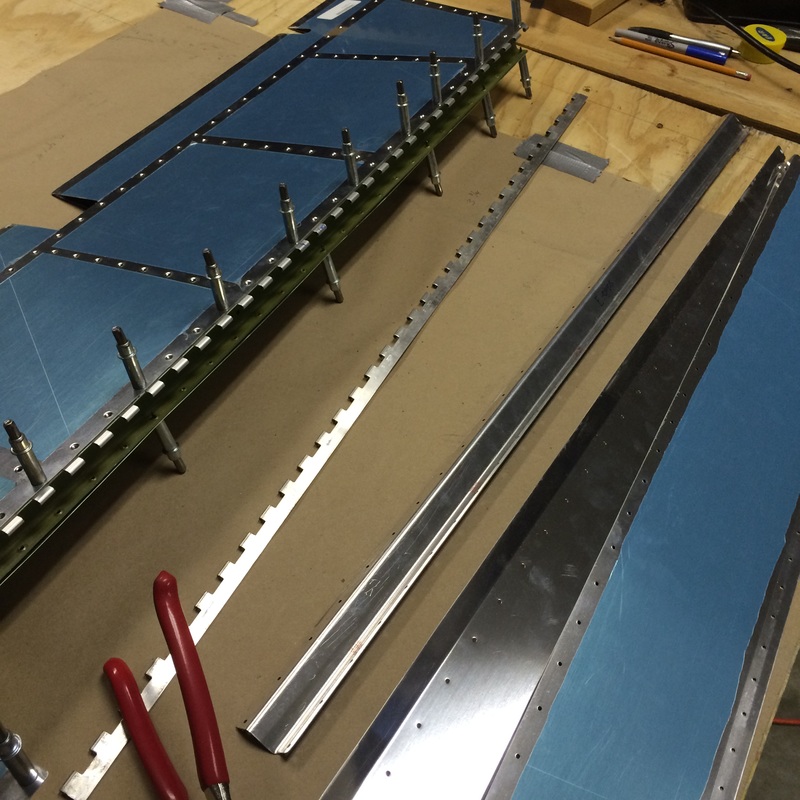
When I was buttoning up the leading edges, I didn't take enough time to massage the skins to fit perfectly flush which ended up with a small pillowing between two rivets. It wasn't bad (maybe 1/16") but it was annoying me, so I threw another rivet in for good measure. 
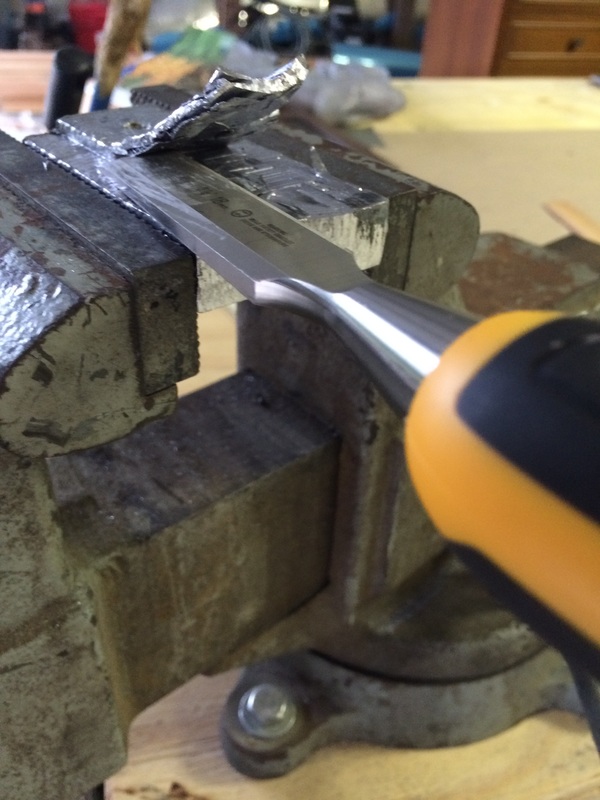
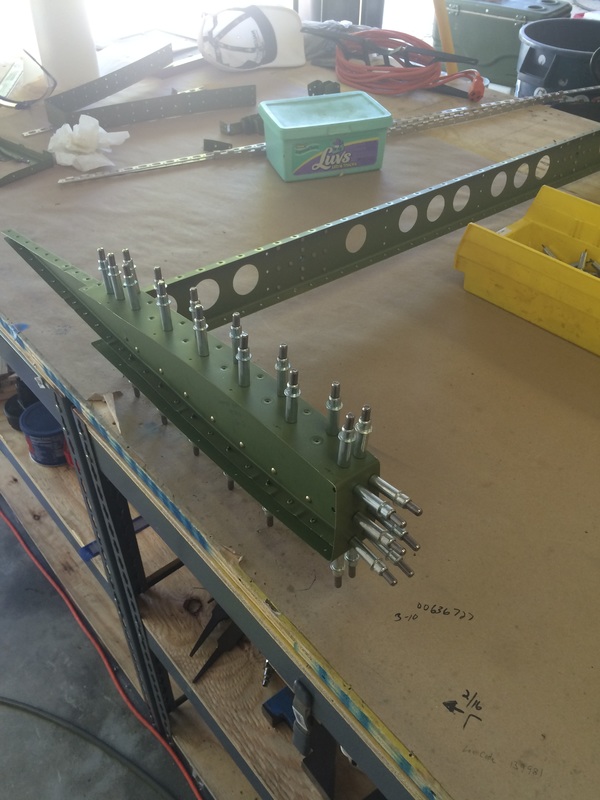
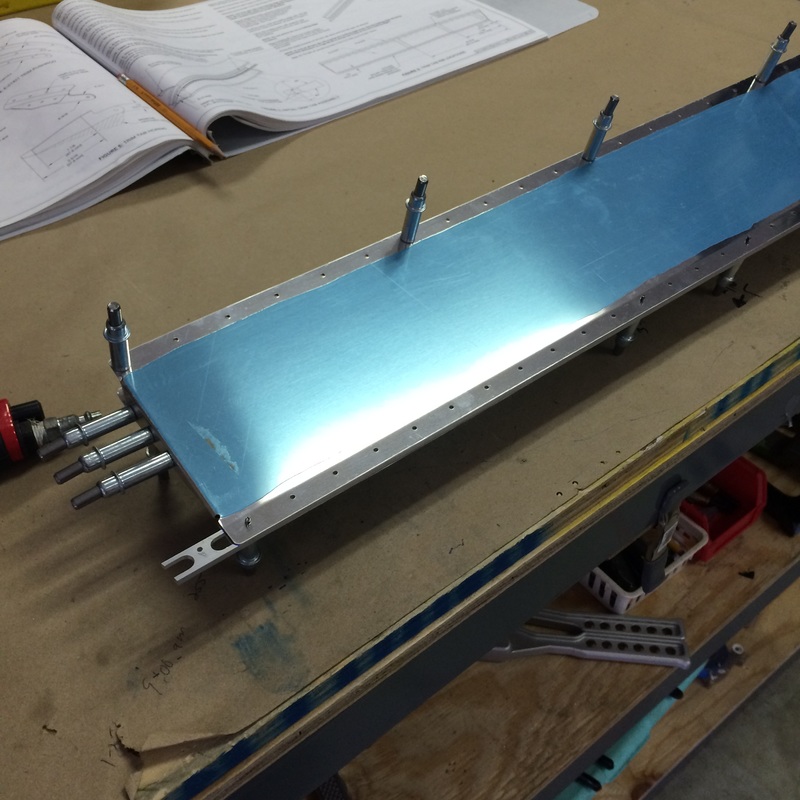
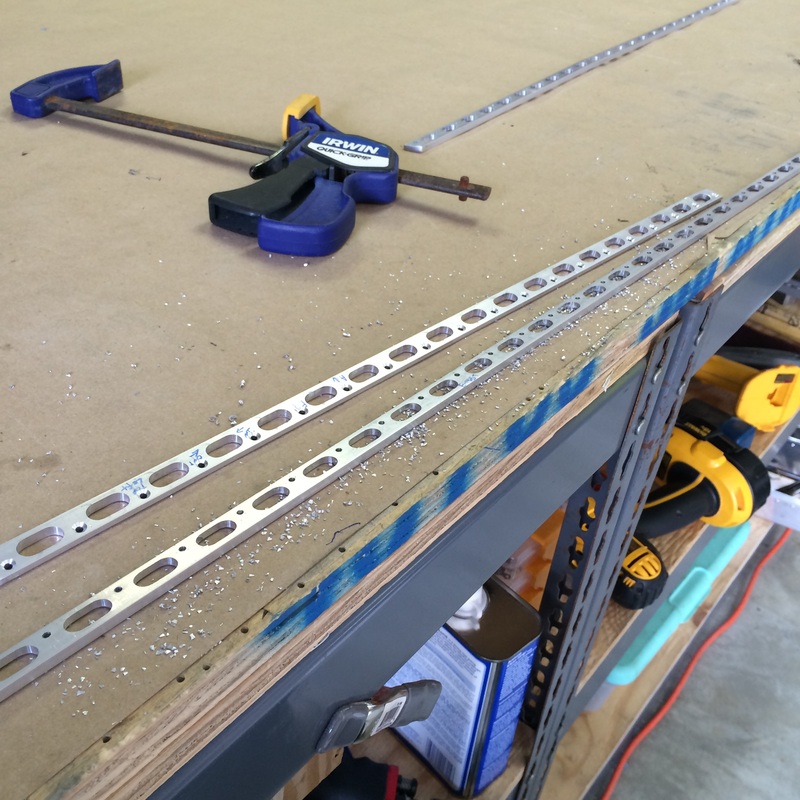
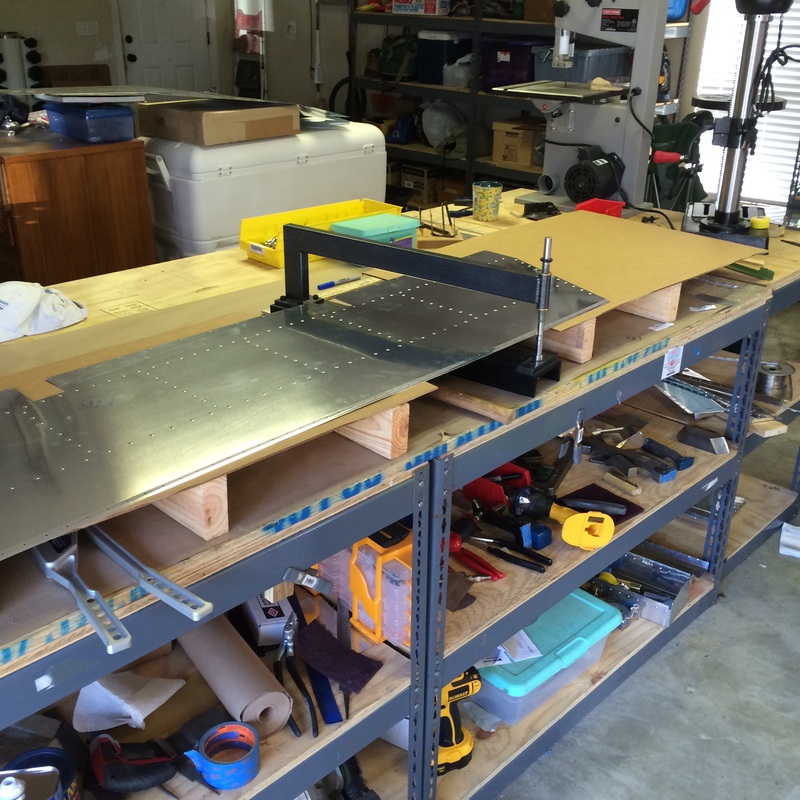
In the midst of working on the counter weights I snapped a few pictures of the method I used to trim them down. I started out with a file as others have done but figured there had to be a quicker method. Here's what I came up with:
0 Comments
Today was a big milestone in the sense that I assembled and operated the first moving part on the airplane. I cycled the trim servo through full deflection in both directions with a 9 volt battery. I have a video of the momentous occasion but cant figure out how to get it off "The Cloud."
I decided to skip ahead and roll the leading edges since once installed, the trim tab push rod would be in the way. Lessons learned from the rudder leading edge definitely paid off which lead this work session to end on a much happier note.
With the trim tab and elevator buttoned up, it was time to play with proseal. While the stuff is messy, overall the difficulty of working with it is over hyped. The key is put on multiple pairs of gloves and have plenty of new Popsicle sticks. Working with clean hands and tools is key to keeping the mess to a minimum.
Unfortunately I wasn't able to capture any of the pictures of the "during" process of working with proseal. During the course of reading the plans and looking over others blogs, I decided to purchase the specialty bucking bar to buck the rivets on the the aft spar of the elevators. Admittedly I was a little nervous prior to starting the work session, but after the first rivet was set, it was clear that these plans and tools are so well engineered that even a monkey could do it!
Since I was had to wait for replacement parts for the trim tab, I decided to skip the rest of the trim tab and move on with the rest of the elevator. Another reason for skipping the trim tab completion was that I wanted to do all of the pro seal related work in one session. Here are a few shots of the elevators coming together.
It seems that many builders end up re-doing their trim tabs while working on the elevators. I had a few stumbles with the trim tab, but not for the reasons many others do. For me, a couple of bone head mental mistakes cost me about $20 in replacement parts. Not too bad. The first mistake was the piano hinge that attaches to the trim tab. I'm still not sure how, but I somehow manged to mis-measure which resulted in the length of hinge being one hinge too short. The second mistake (which ended up really not being too much of a mistake), was that a few of the holes that were countersunk in the trim tab spar had a slight knife edge and were ever so slightly oversized. I jumped the gun and quickly reordered a new spar from Van's since it takes nearly a week and a half to get anything from them. As it turns out it is commonplace when countersinking such thin material to have an occasional knife edge. In this application the spar is sandwiched between the hinge and skin, so the added support of the hinge really negates any worries of a few knife edges. Any how, I decided to wait and use the new spar since it was already in transit. Luckily, I was able to source replacement hinge material from my local airport. It was stored coiled up and had a few minor kinks, but I was able to work them out easily and make the replacement piece.
A whopping 45 min session this evening yielded a milestone for the seemingly endless part prep. I finally set a rivet on the elevator! Well, it was just a nut plate (or plate nut if you prefer) but it was still nice squeezing a few rivets.
Again not many pictures for today's session. Accomplished today were: Priming of all ribs, pieces, and parts, and countersinking the trailing edge.
Being the ever impatient and frugal person that I am, I did not purchase, nor build any risers/stands to go on either side of my c-frame.....Until now. I don't know how I managed up until this point (actually I do: Multiple contortionist positions along with colorful language) to dimple the skins on the VS and HS. So I decided to stop the job and come up with something.
My solution: -Spare 2x4's, cardboard from the shipping crate, and spray adhesive from the foam rib templates. I started with just a simple "H" shape of the 2x4's but ended up adding one more 2x4 in the middle of the "H" to provide support towards the rear of the c-frame. I could have done without the extra if the "H" was longer but I didn't have enough wood to do both sides so I figured this would work. As it turns out, the whole set up worked great. I was worried about the sturdiness of the cardboard but as it turns out it was a non issue. The best part about the whole thing is that it is extremely light and easily stored on the top shelf! |
Categories
All
Archives
March 2016
|