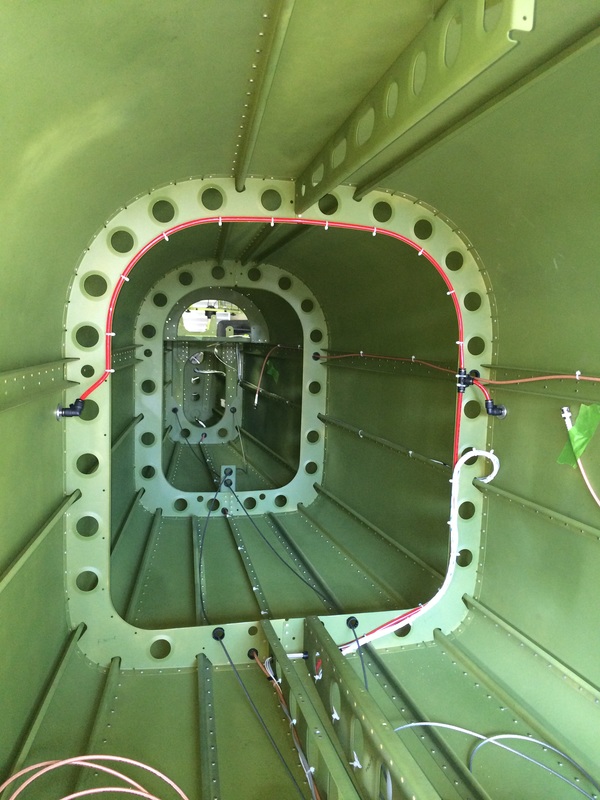
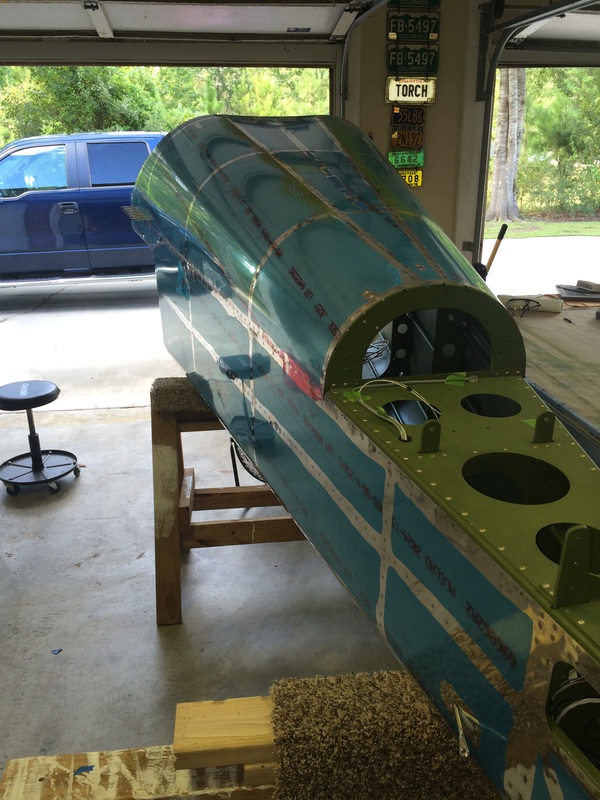
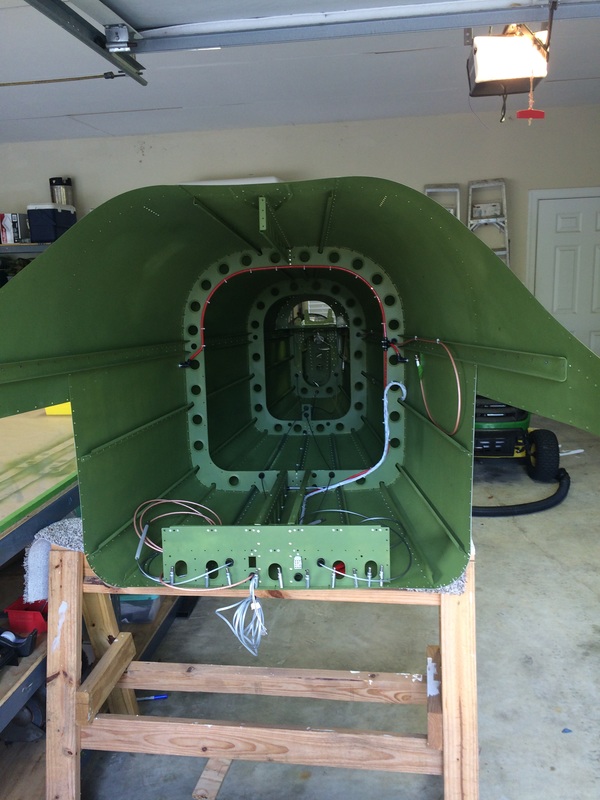
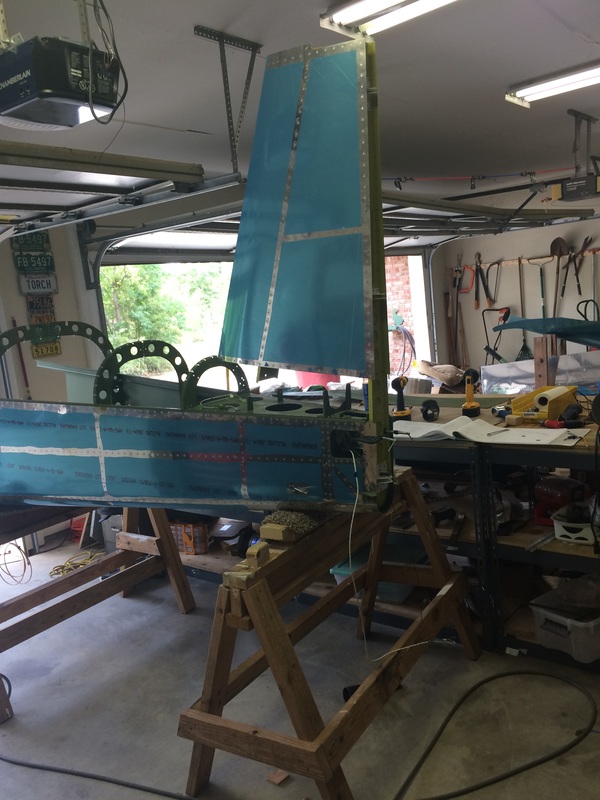
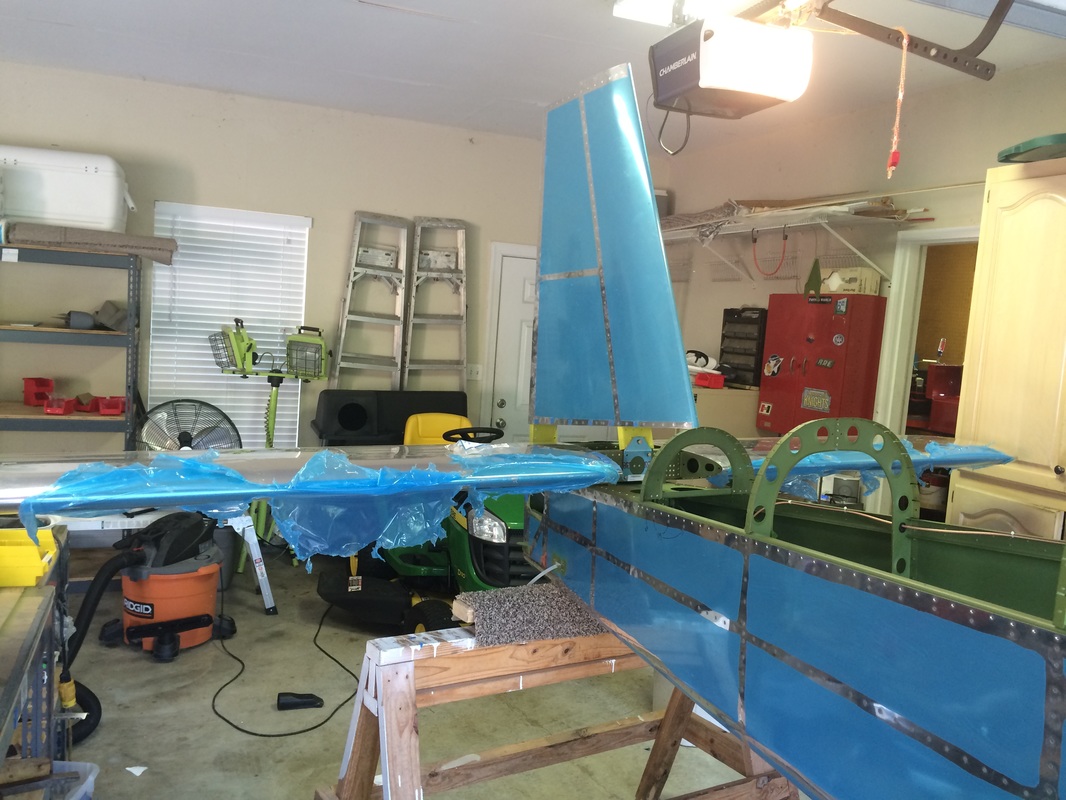
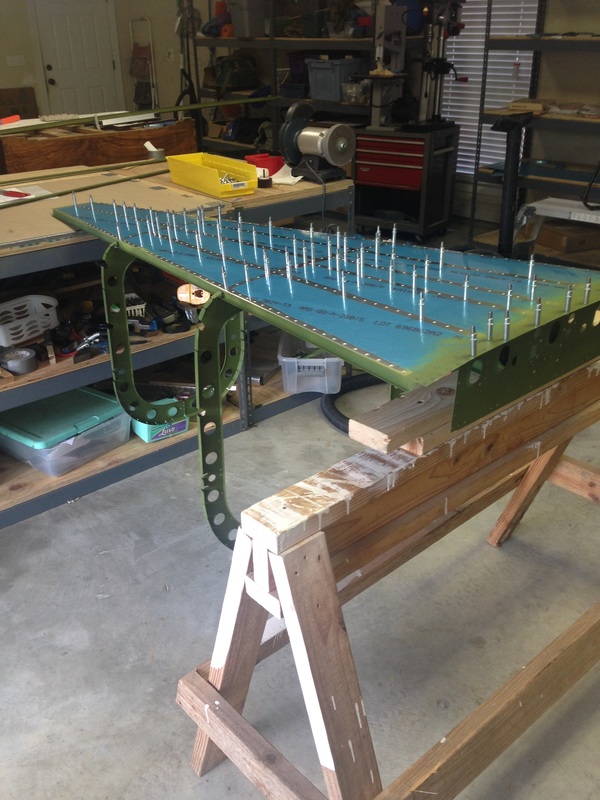
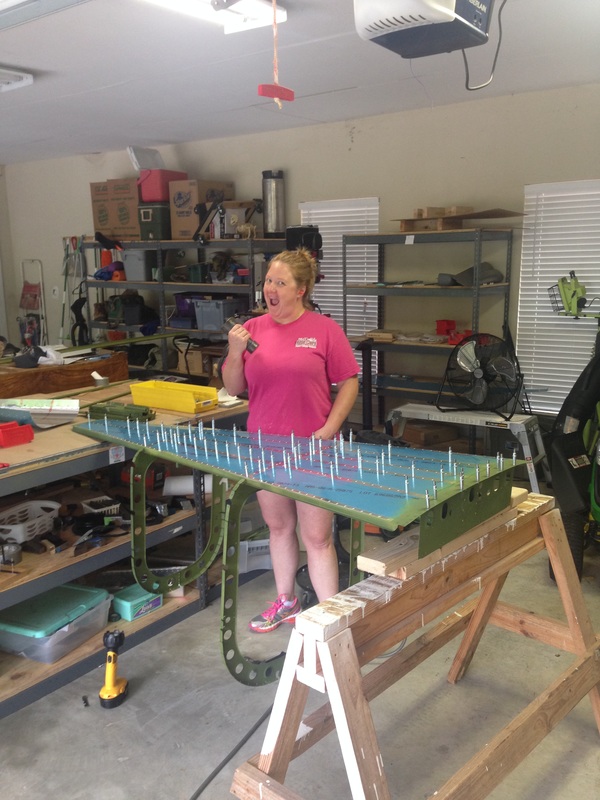
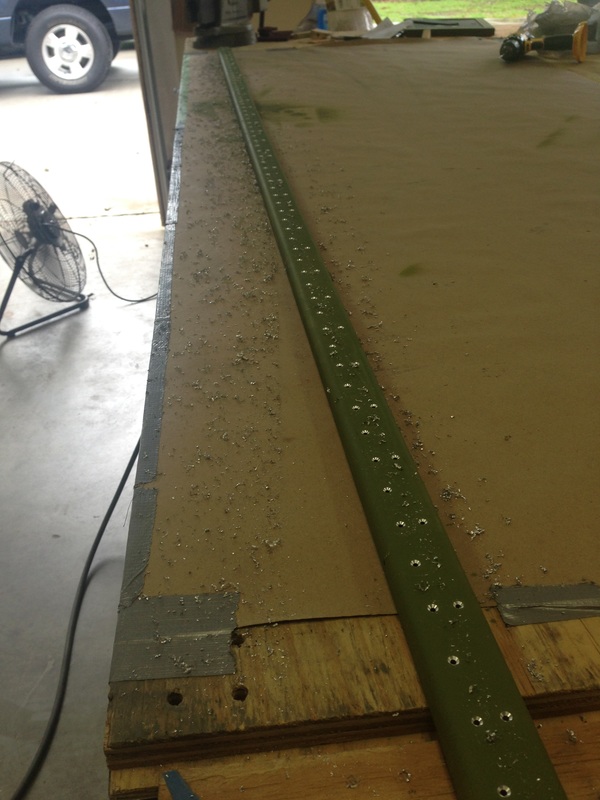
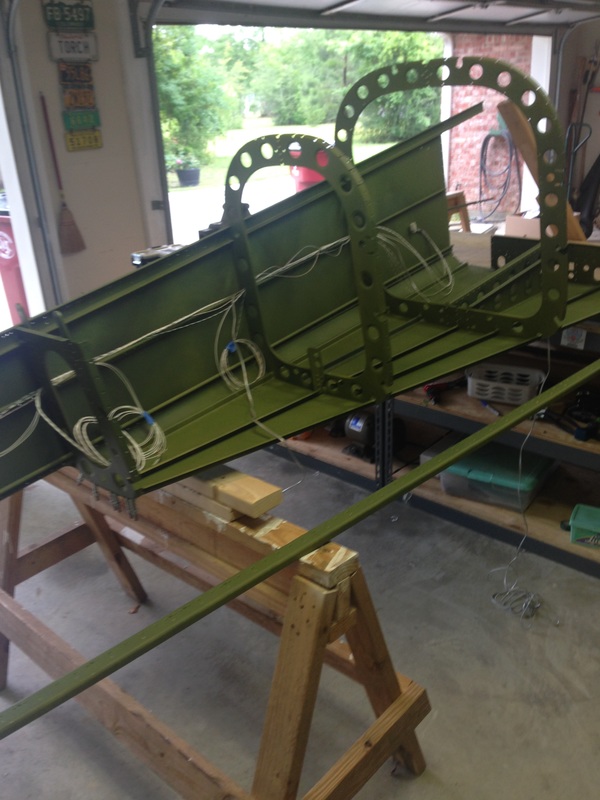
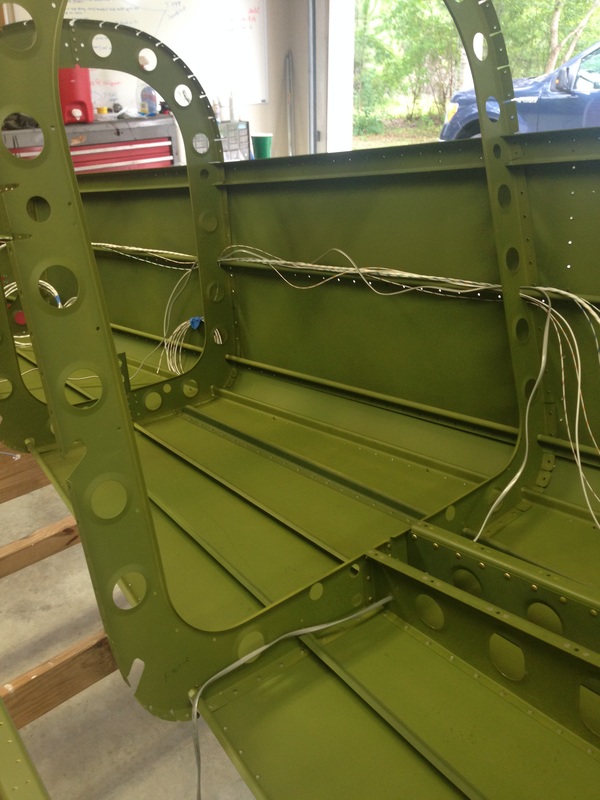
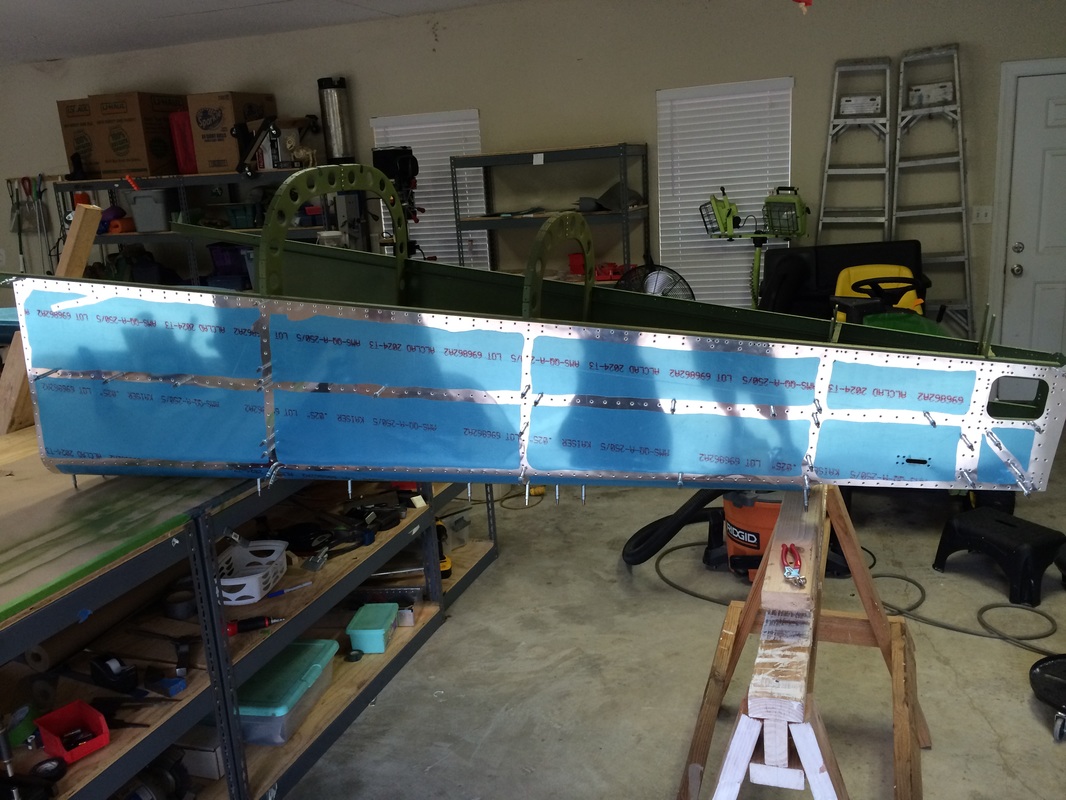
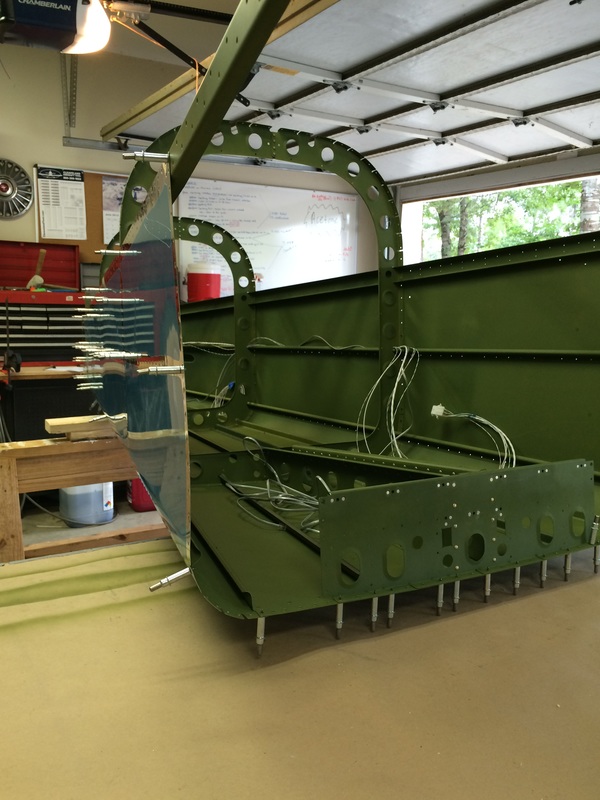
Unfortunately, I don't have many pictures of the side and top skins going on because of how much a pain in the a$$ it was was to crawl in side the tail cone. Basically the process was I back riveted from the inside while Tiffany held the 5 pound bucking bar from the outside.
0 Comments
After consulting with Vans the aft bulkhead will be fine as long as there is no interference prohibiting the vertical stabilizer from mounting flush. The moment of truth came as a I temporarily mounted the vertical stabilizer. SUCCESS!!
The vertical stabilizer mounted up just fine with no issues. For good measure I went ahead and stuck the horizontal stabilizer on and snapped a few pictures. I was down to my last 4 rivets of the tail cone when I made a major oops. I was squeezing a flush rivet on the F-01412 bulkhead when apparently the flush set of the rear rivet set either slipped off or was never on the tail of the rivet I was setting. The result was a nasty impression of the flush set on the flush side of the rivet. Since this bulkhead is where the vertical stabilizer attaches I'm quite concerned that the structural integrity has been compromised. Replacing this bulkhead will be a major task and set back in the momentum I had going. It definitely puts a damper in the joy of my recent wing kit order. I have an email in to Van's and will call them to follow up on Monday to get the verdict. In the meantime I'm left in purgatory to wonder.
. It's been a while (Almost 3 months) since I've updated my progress. It seems I have fallen into the same trap as others having large gaps in updating their build logs while still progressing on their project in the background. I think a large contributing factor for this is that when you are working on a section that is very tedious, it can take many sessions just to complete one step. Wash, rinse, repeat, and before you know it there is major progress. I return to this site and look at my last entry and say to myself, "Wow that seems like ages ago, I need to update the site." So here I am..... The exterior of the aft fuselage or tailcone is made up of 6 separate parts: Bottom, Left/Right lower, Left/Right upper, and top skins. Prepping all of these parts takes some time, and assembling/riveting them all together takes even longer. Below the first couple of pieces are coming together that form two bellcrank ribs. Next the above assembly gets attached to the bottom skin. I shot the rivets from underneath while Tiffany bucked them. The next step was to countersink the longerons to accept the dimples from the skins as well as the nut plates. I try and keep paper on the work bench top so that metal bits don't get "ground" into the surface. One of the features that sold me on this kit was the pre-planned wiring and complete harnesses. The instructions are so well thought out that wiring is installed before things get riveted together. Here she is starting to come together I opted for the Cleaveland static port over the stock Van's pop rivet one supplied with the kit. Even it did not offer any significant performance benefit over the Van's model, for $30, it simply looks better. I'll admit enlarging the hole in the skin with the step drill was a little unnerving since there was no turning back once the holes were drilled. A little JB Weld and a clamp and it was done.
With the tail feathers complete it is on to Section 10: Aft Fuselage. The first few pages of this section are simple separating, deburring, and priming parts. A LOT of looong parts. Hopefully, a few parts that fabricated will fit. The rudder stops (above) required countersinking the 8 holes shown. I had to modify my countersink cage in order to accomplish this step.
|
Categories
All
Archives
March 2016
|