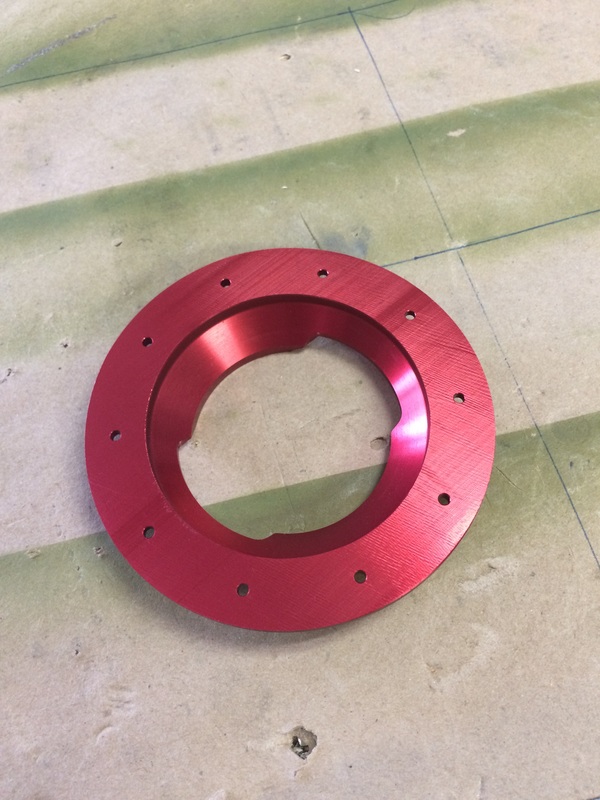
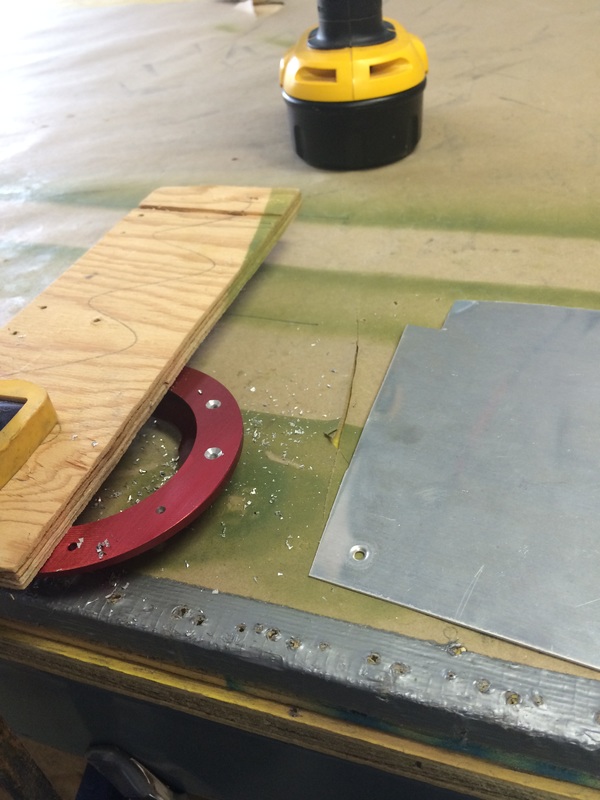
I wasn't quite sure how I was going to be able to countersink the fuel filler flange but a scrap piece of wood and a clamp was all it took to hold things steady as I worked my way around the flange with the CS cage.
|
I wasn't quite sure how I was going to be able to countersink the fuel filler flange but a scrap piece of wood and a clamp was all it took to hold things steady as I worked my way around the flange with the CS cage.
0 Comments
I used the same technique I used for dimpling the rudder. Attach a piece of safety wire to a bungee that is attached to the garage door track. This allowed me to easily dimple the skin by holding the folded over skin open and out of the way. 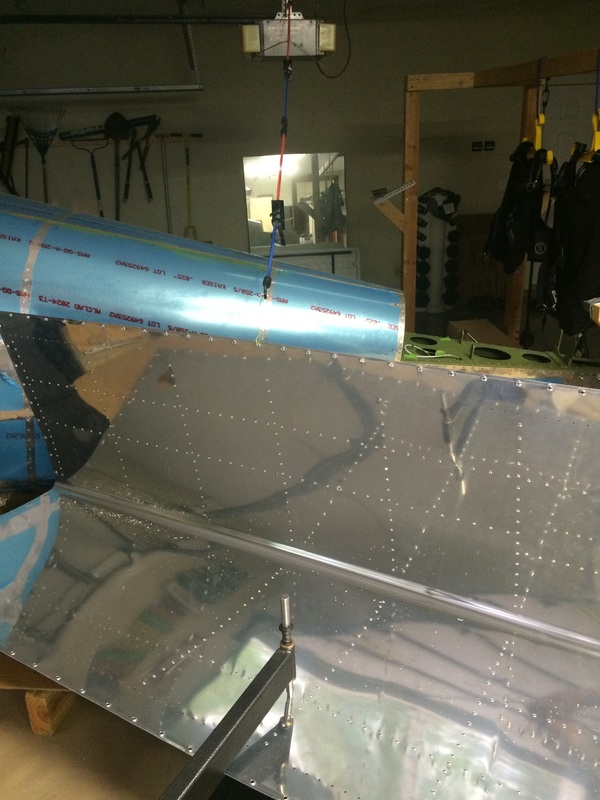 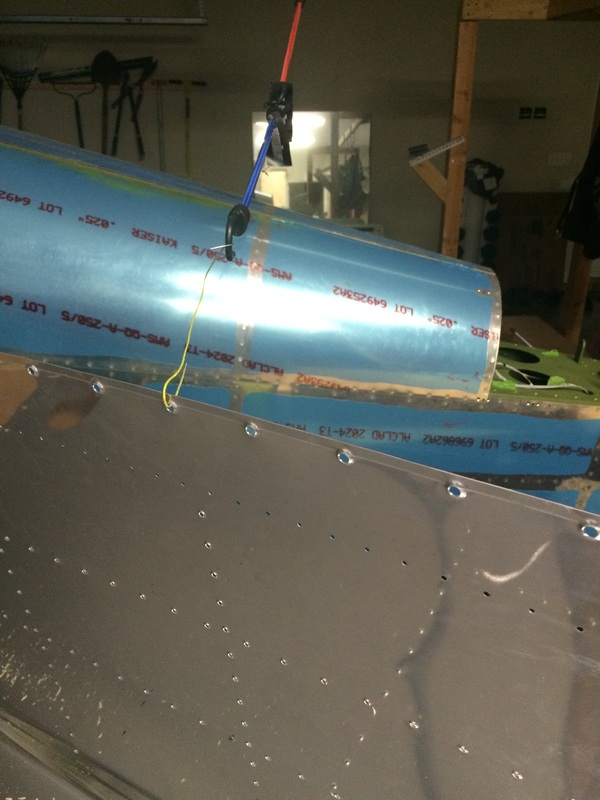 I have a love/hate relationship with preassembly of parts. On one hand, its satisfying to see a big part come together out of a pile of other parts, but on the other hand you know its all just temporary and it has to be taken apart again for other prep work before final assembly. The wings are unique in that you get to experience this love/hate thing not only once, but twice (once for each side). I got everything put together and set in the cradle and went to town countersinking the tank skin where it meets the rear baffle. As with many other parts of the build, there is a much contention as to which method is the best. I'm sticking to the plans and countersinking instead of dimpling. 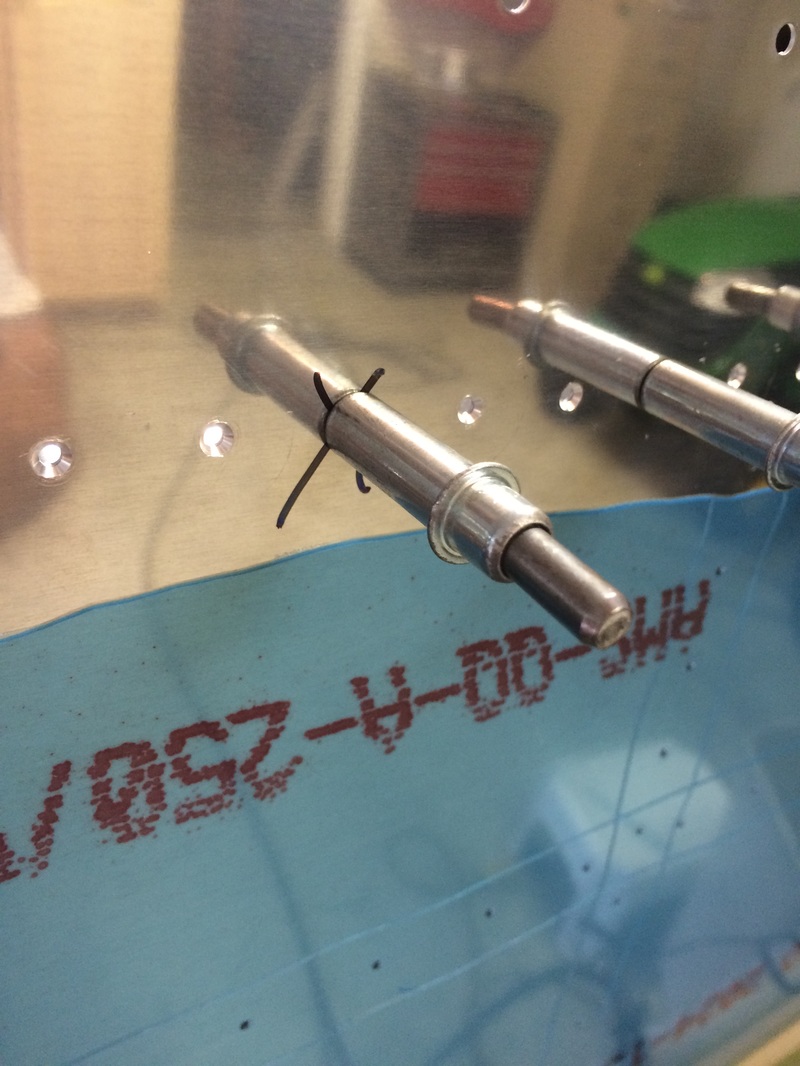 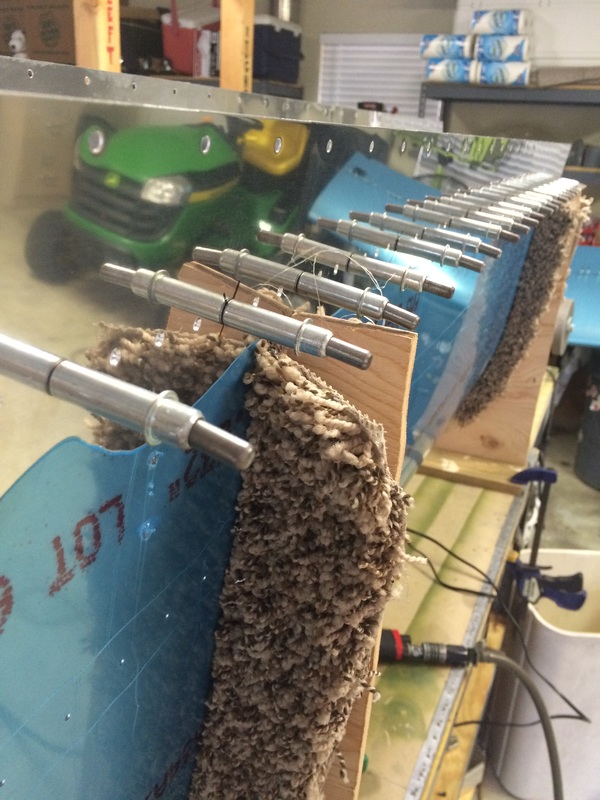 After getting all of the stiffeners ready to go, I pulled the tank skins out and started clecoing things together to see how it all fit. For the life of me I couldn't figure out what the "extra" strip was on the end of the skins. I searched the plans backwards and forwards and finally resolved to posting a question on VAF for help. Wellllllll.......As it turns out, these strips were removed in a previous section. I guess that's what I get for skipping straight to Section 18. 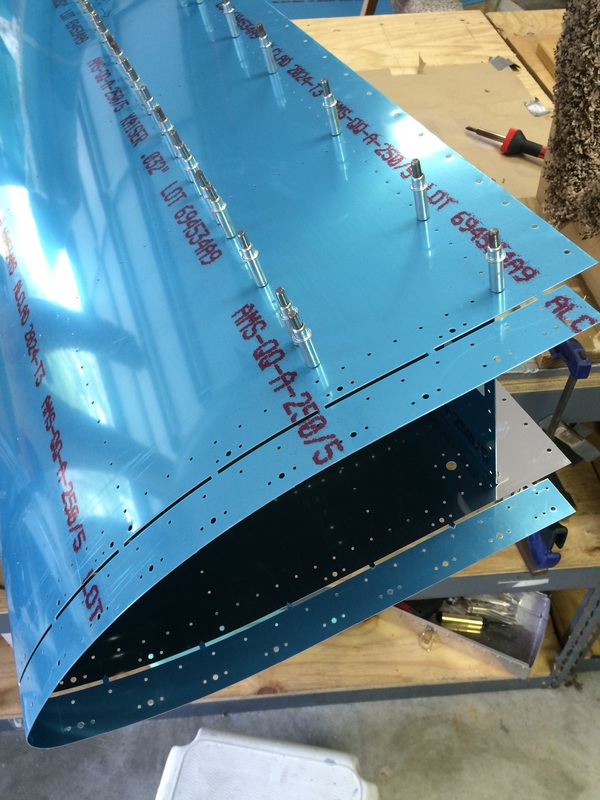 Next up was cutting the tank stiffeners. This wasn't too tedious, just connect the notches with a sharpie, cut, and deburr. The small angle pieces in the bottom photo get riveted to the underside of the fuel filler flange and hold the fuel tank vent line in place.  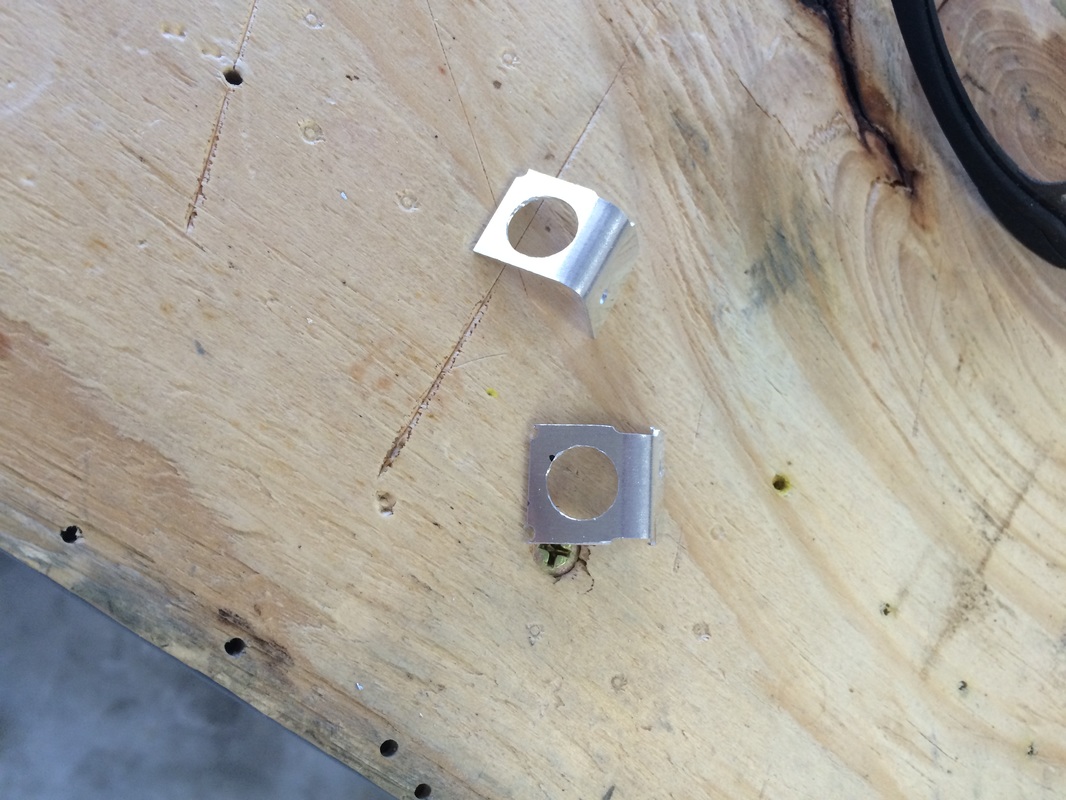 Louie was so excited for Halloween he couldn't wait to try on his costume.  Its always a little bittersweet starting on the first page of a brand new section. On one hand, there is excitement because you are one step closer to completion; and on the other it is somewhat dreadful because you are on step 1, page 1 of god knows how many. Just like so many other sections, the start of section 18 has you prepping, cutting down to size, or locating holes in parts for later use in the section. Measure twice (or 15 times) cut once really applies here. For the life of me I couldn't figure out to how make the threaded flange fit the drawing's specs. Then the light bulb went off and realized my measuring skills were not up to par during this session. One thing I've had to learn during this project is: If something doesn't go together right or just seems "off," stop and walk away (or go to VAF) and come back later. 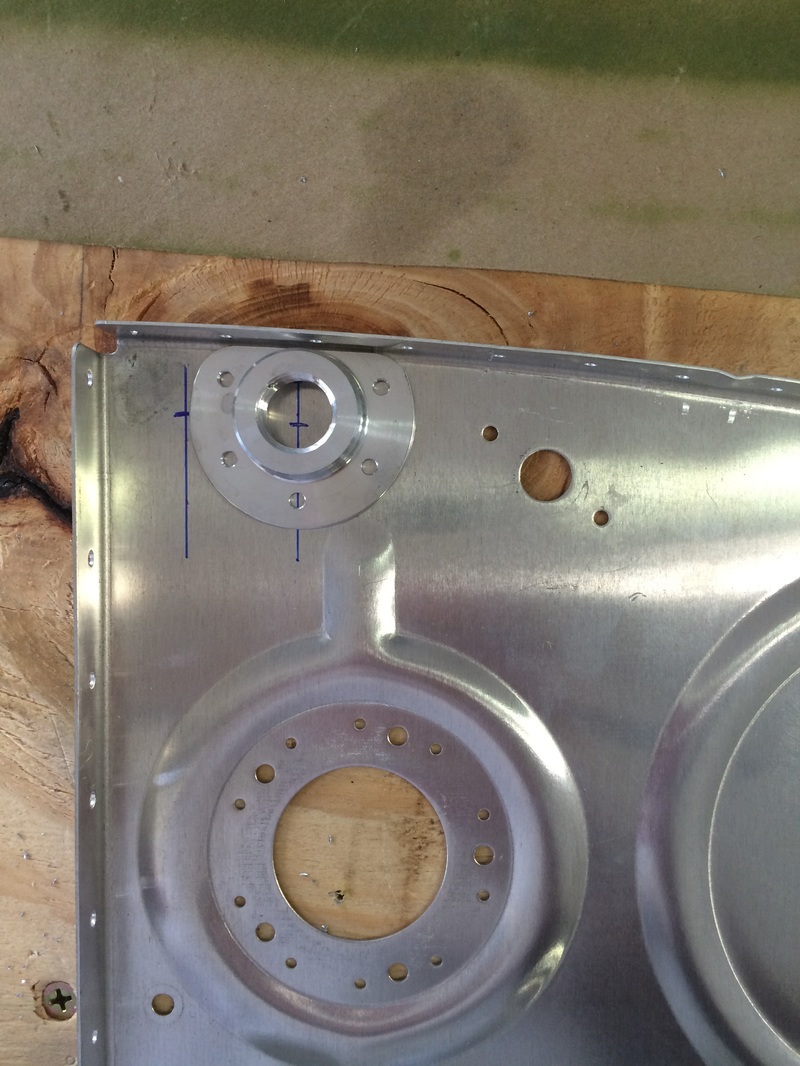 I ordered the wing kit in July and it was finally delivered the week after we got back from vacation. I was anxious (as was Louie) to open the crates and get everything inventoried so I could start on the fuel tanks. You see, I decided to start on the fuel tanks first for two reasons: 1) I wanted to work with the tank sealant before things got too cold in the garage; 2) I figured why not get the most dreaded task out of the way first? 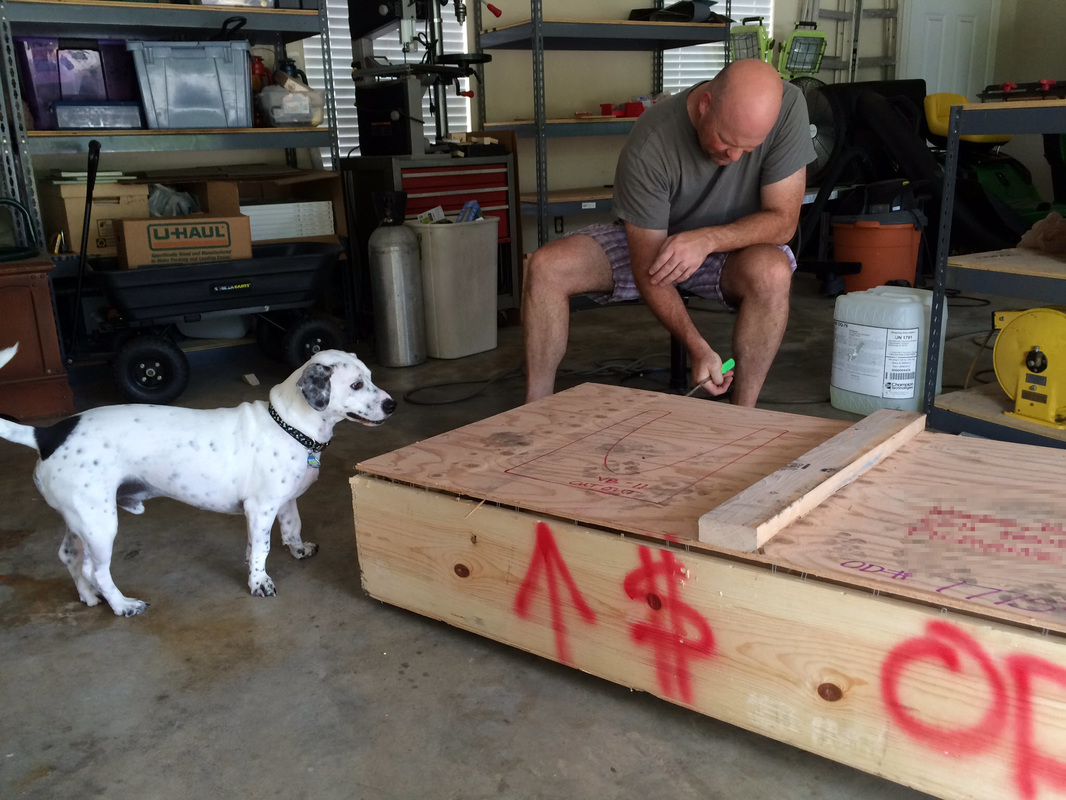 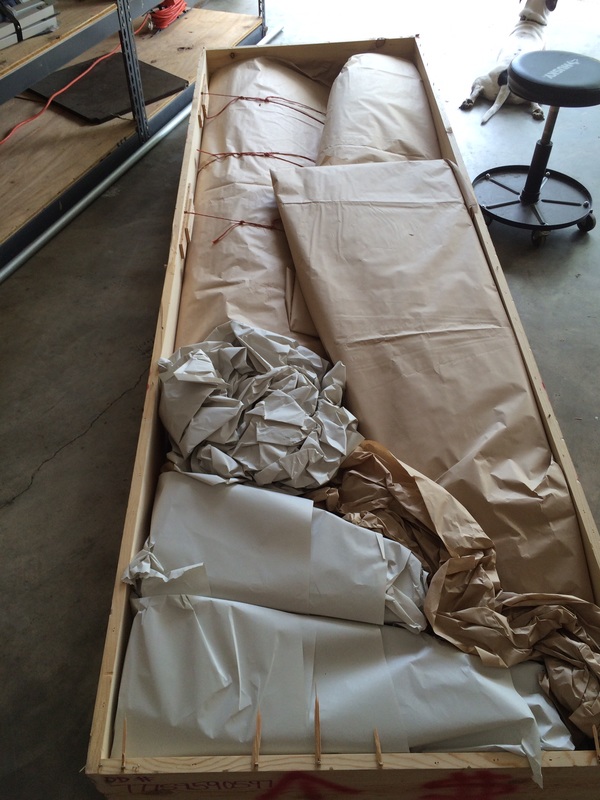 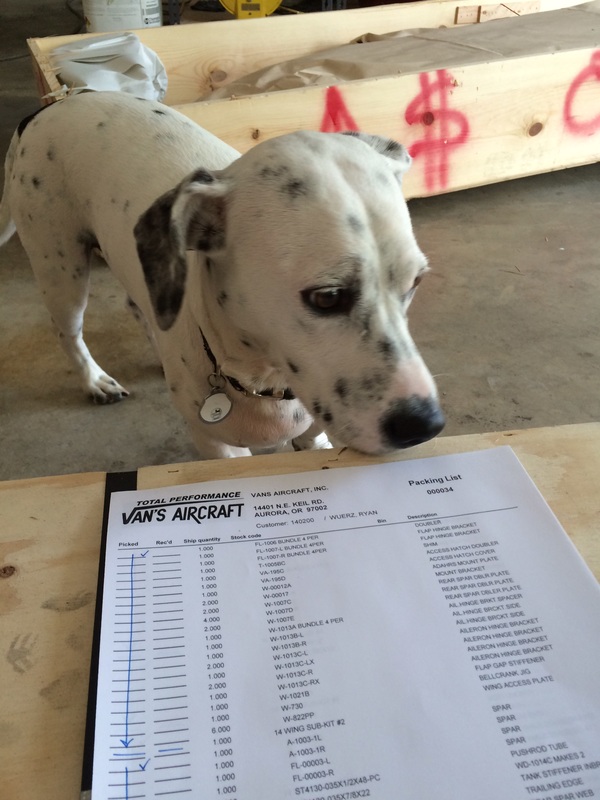 Unfortunately, I don't have many pictures of the side and top skins going on because of how much a pain in the a$$ it was was to crawl in side the tail cone. Basically the process was I back riveted from the inside while Tiffany held the 5 pound bucking bar from the outside. 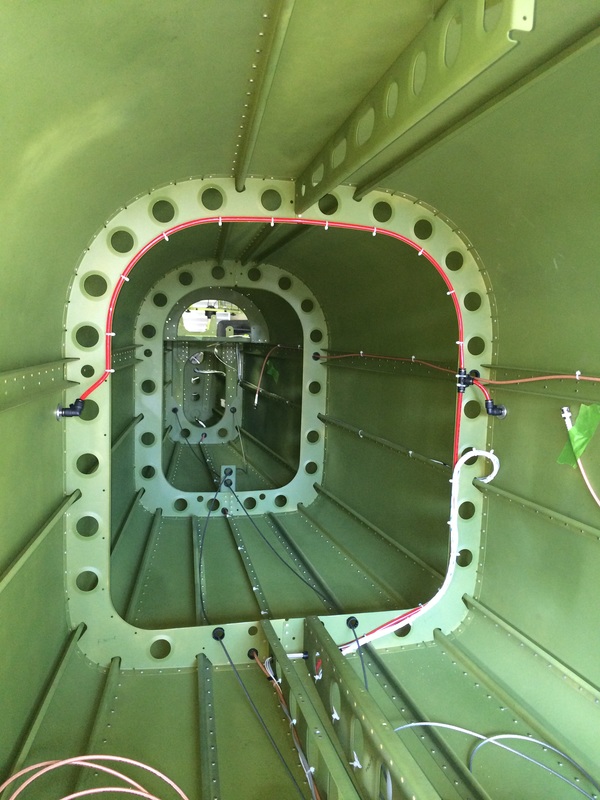 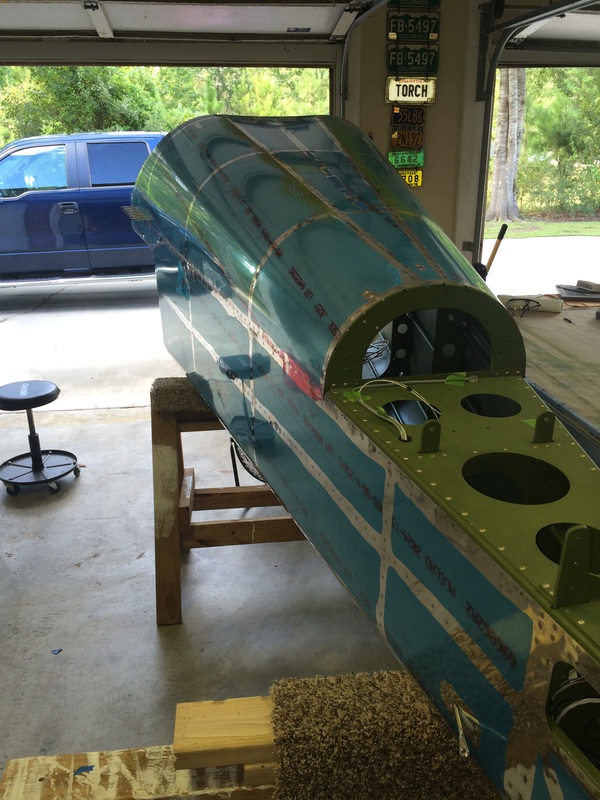 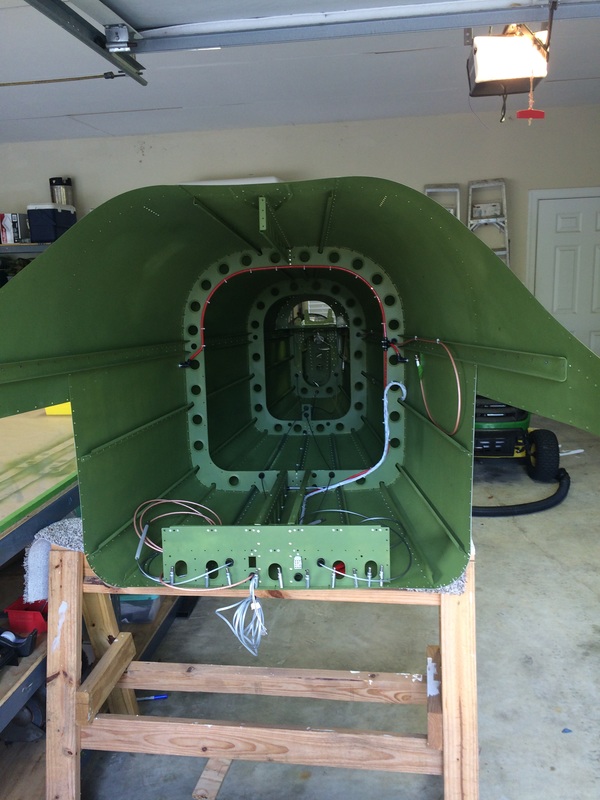 After consulting with Vans the aft bulkhead will be fine as long as there is no interference prohibiting the vertical stabilizer from mounting flush. The moment of truth came as a I temporarily mounted the vertical stabilizer. 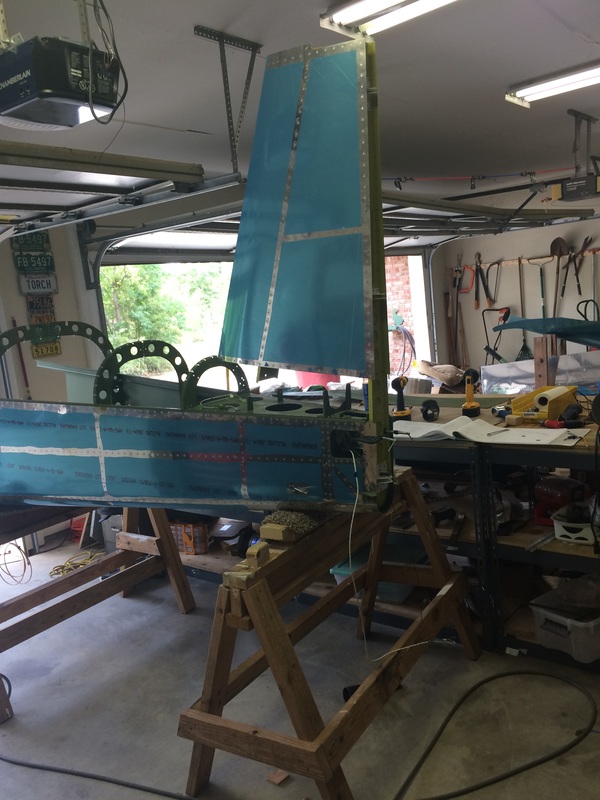 SUCCESS!! The vertical stabilizer mounted up just fine with no issues. For good measure I went ahead and stuck the horizontal stabilizer on and snapped a few pictures. 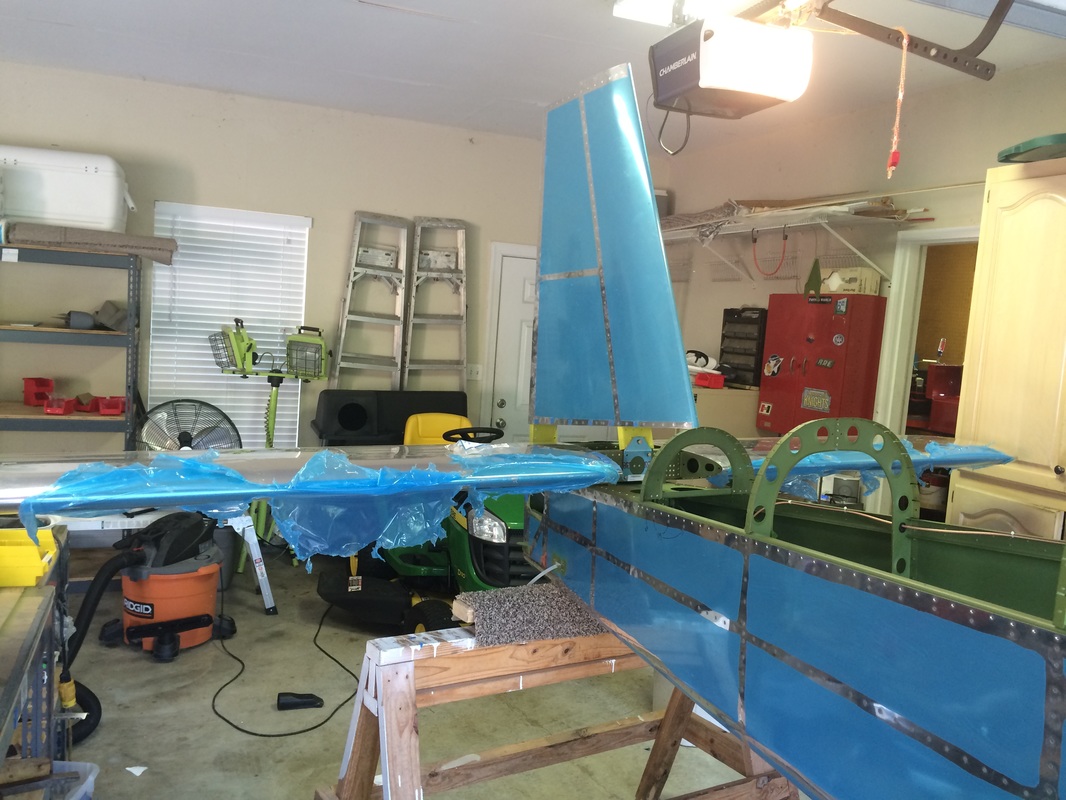 |
Categories
All
Archives
March 2016
|
 RSS Feed
